


- Web templates
- E-commerce Templates
- CMS & Blog Templates
- Facebook Templates
- Website Builders
FAQs
General Tutorials
Featured templates
MonsterONE Subscrioption


In this tutorial we will show you how to create and manage the existing tags in the PrestaShop store.
PrestaShop 1.6.x. How to add and manage product tags
Tags are special keywords and phrases which help customers to find the products they want. They are associated with specific products to make the process of searching much easier. A tag can be added to one or several products, and at the same time a product may be associated with many tags.
To create a new tag in PrestaShop 1.6, follow these steps:
Log into your PrestaShop admin panel.
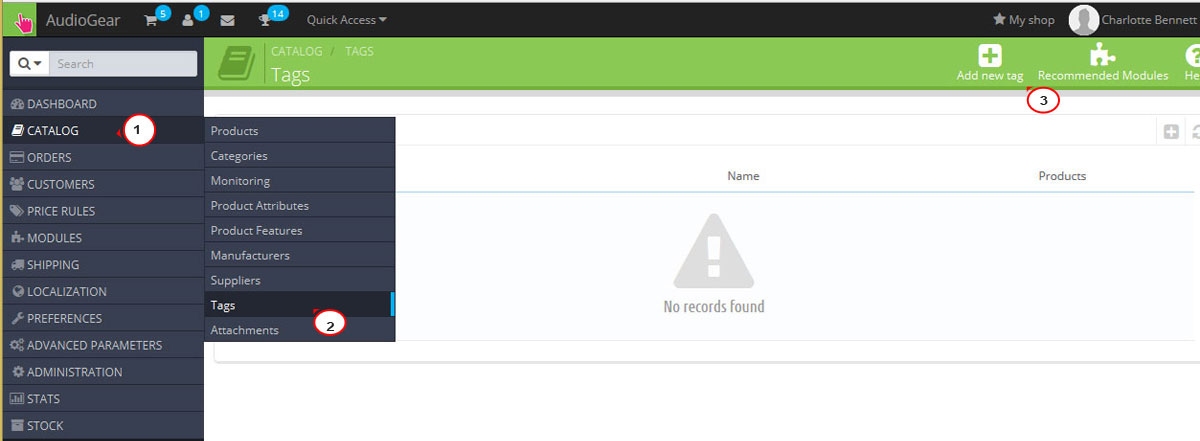
Navigate to Catalog-> Tags and select Add new tag button from the top right corner:
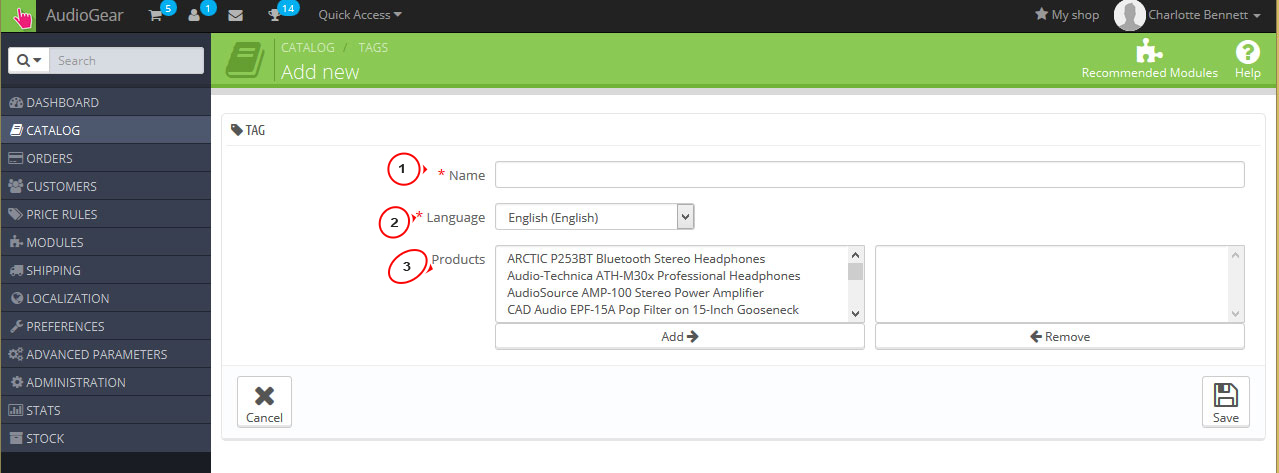
You will see a form where you have to fill in the following data:
Name: enter a word or a phrase you want to display on the fronted of the site as the tag title.
Language: select the language to which you want the tag to be added.
Note: your tag will be available only for the version of the store you selected while creating it. In case you want it to be displayed in other languages, you have to create it once more and assign to this language.
Products: select the products you want to associate with this tag and press Add button. In case you want to remove some products from the list, just highlight the unnecessary product and click on Remove button.
Once you enter the correct information, press Save button to save the tag and display it on the front end:
You can also add tags while creating a new product:
Navigate to Catalog-> Products and select the Add new product option from the top right menu.
Insert your tags after the product description. You can add several tags. Separate them by a comma or press Enter after each tag.
The tags will be automatically saved after pressing Save button to save the new product.
Your new tag will appear on the Category page in the left sidebar:
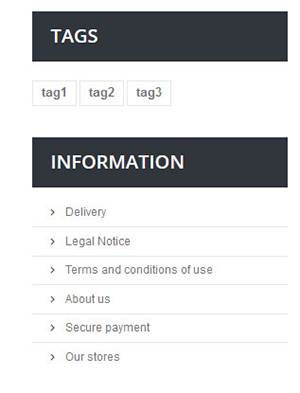
The tags in the block are listed according to the number of products which they are associated with.
The tags which have more associations with products are listed first in this block.
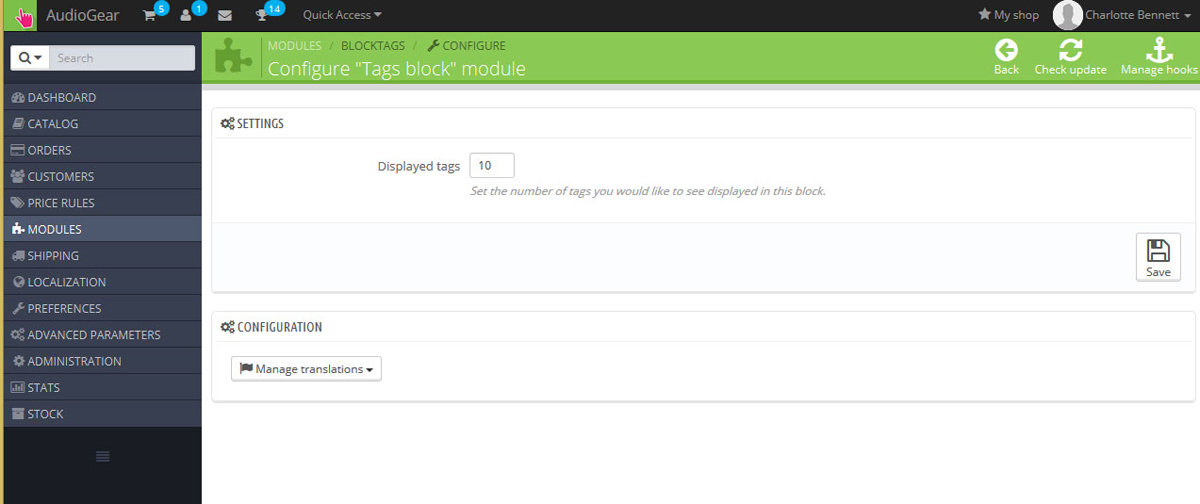
You can manage the number of tags displayed in this block in Modules-> Modules-> Tags block module in your PrestaShop admin panel:
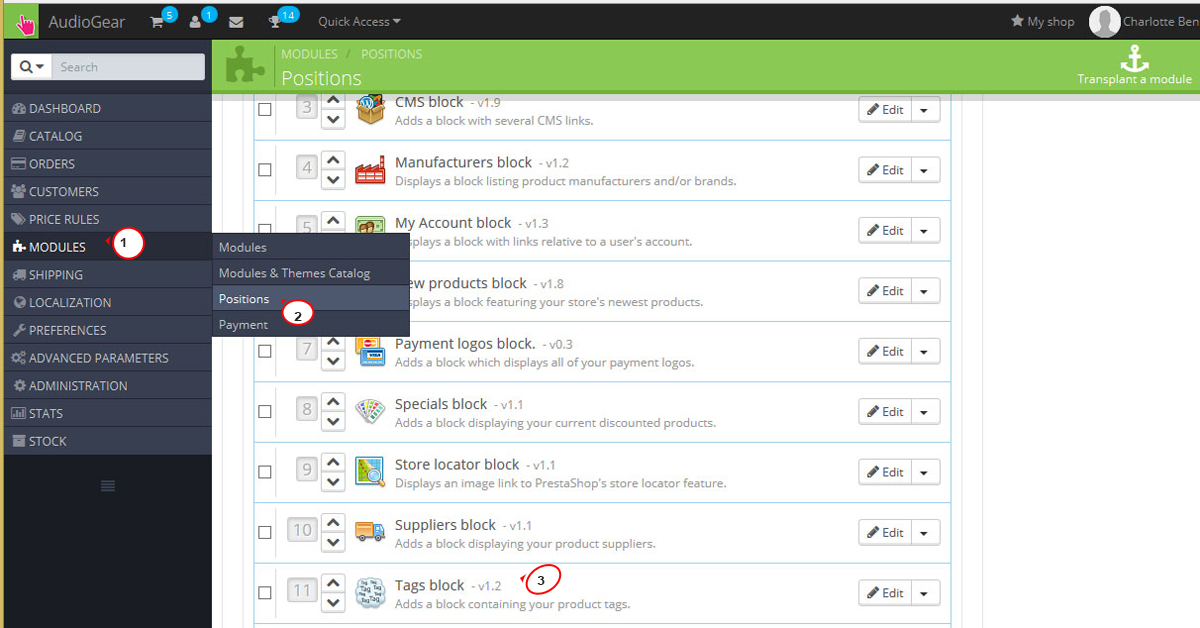
In case you want to move this block to the top, you need to change its positions in Modules-> Positions. By default, the Tags block is located in the LeftColumn hook:
This tutorial will help you to manage modules and modules positions.
Feel free to check the detailed video tutorial below:
