


- Web templates
- E-commerce Templates
- CMS & Blog Templates
- Facebook Templates
- Website Builders
FAQs
General Tutorials
Featured templates
MonsterONE Subscrioption


This tutorial will guide you through on how to manage product images zoom.
PrestaShop 1.6.x. How to manage product images zoom feature
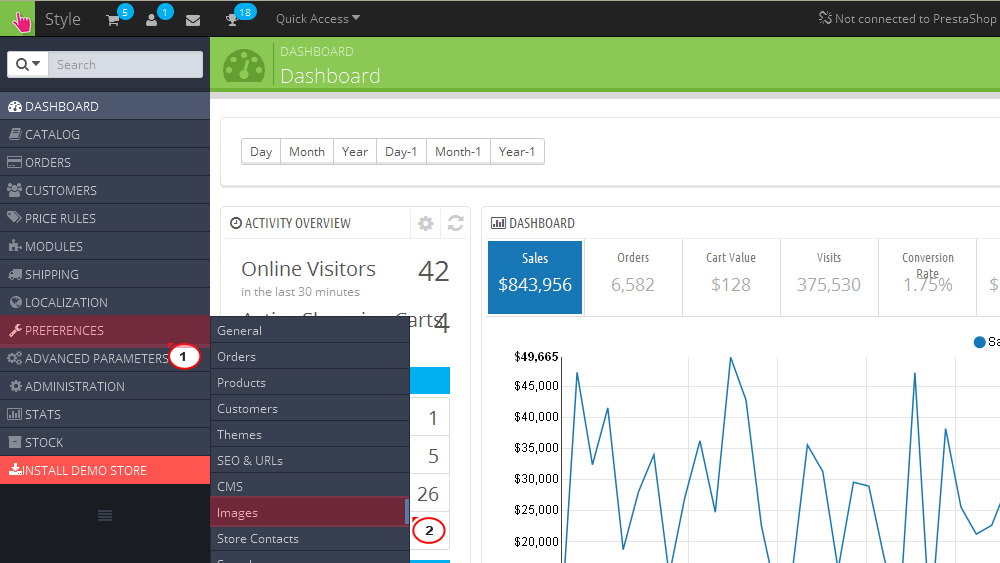
Product image has a zoom feature when the cursor hovers over it. In order to change the zoomed image size, you need to follow the steps below:

if (typeof(jqZoomEnabled) != 'undefined' && jqZoomEnabled)
{
$('.jqzoom').jqzoom({
zoomType: 'innerzoom', //innerzoom/standard/reverse/drag
zoomWidth: 458, //zooming div default width(default width value is 200)
zoomHeight: 458, //zooming div default width(default height value is 200)
xOffset: 21, //zooming div default offset(default offset value is 10)
yOffset: 0,
title: false
});
}
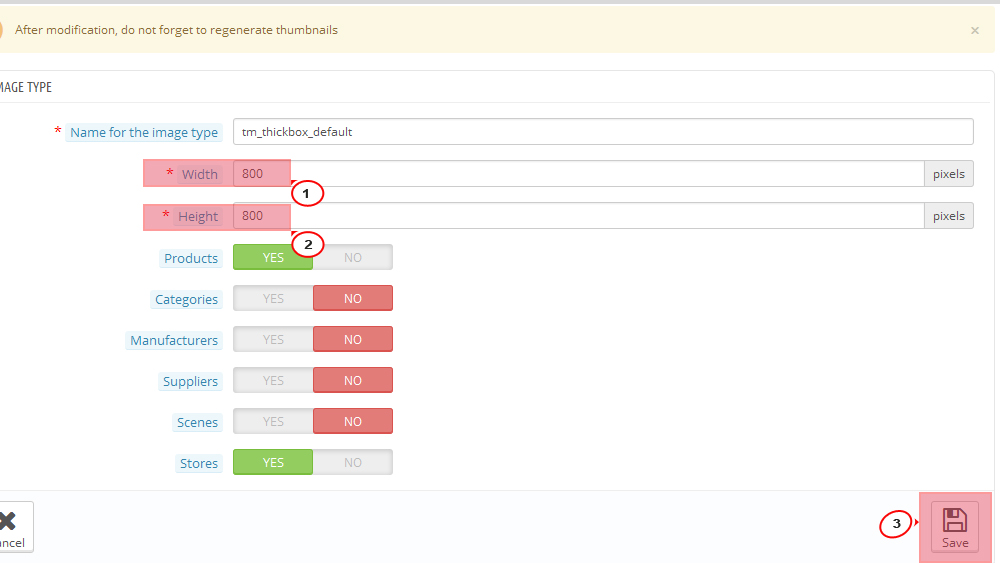
You need to edit zoomWidth and zoomHeight options values.
Let’s change 458 to 558 and save changes.
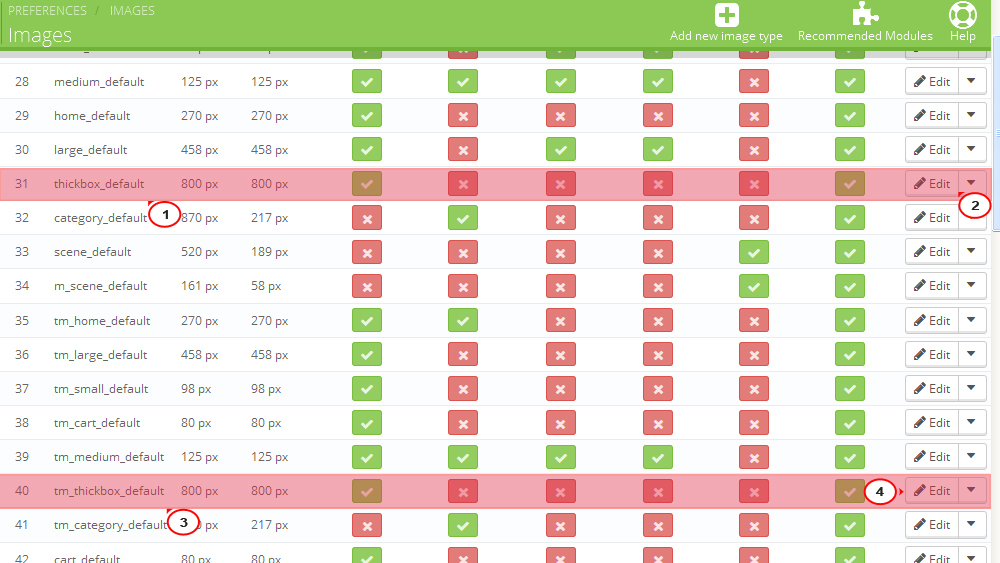
Note that you should keep the aspect ratio between the large_default and thickbox_default images sizes.
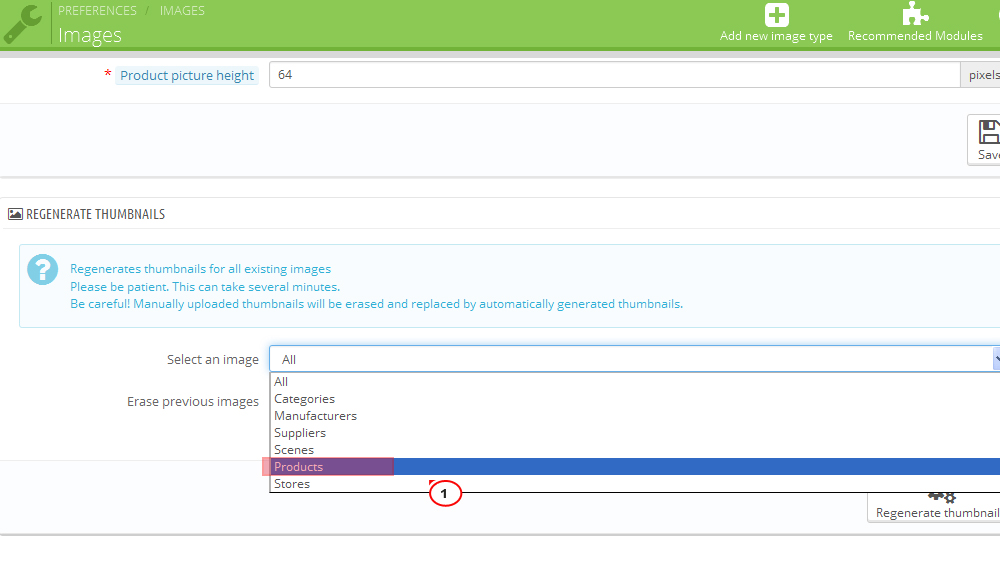
Feel free to check the detailed video tutorial below:
