


- Web templates
- E-commerce Templates
- CMS & Blog Templates
- Facebook Templates
- Website Builders
FAQs
General Tutorials
Featured templates
MonsterONE Subscrioption


This tutorial will show you how to manage "TM Homepage Category Gallery" module in PrestaShop 1.6.x templates.
This module displays a category gallery on your store Homepage.
Navigate to Modules and Services -> Modules and Services in your admin panel.

Locate a "TM Homepage Category Gallery" module in Modules list and press the Configure button.

On the Configuration page you’ll see the list of this module items. You can edit the existing ones or add a new item.
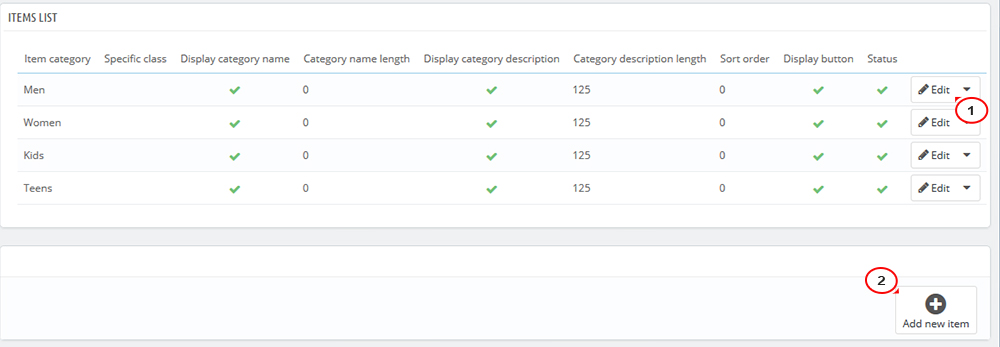
When you add a new item to the module (or edit the one from the list of items), you will see a list of options:

Select category – allows to choose category which should be displayed on your page.
Specific class – the specific class can be added to the module item.
Display name – option to show or hide the category name.
Category name length – maximum number of symbols to be displayed in the category name. If the name is longer – the ‘..’ symbol will be added after the number of symbols that has been set.
Display description – option to show or hide the category description.
Description length – maximum number of symbols to be displayed in the description. If the description is longer – the ‘..’ symbol will be added after the number of symbols that has been set.
Sort order – the order of item in the category gallery.
Display button – the option to show or hide the ‘Shop now’ button (button text can differ depending on the template).
Status – the option to show or hide the category.
HTML content – the field where some HTML content can be added.
Press Save button to save changes after editing and refresh your web-site.
That is the end of the tutorial. Now you know how to manage "TM Homepage Category Gallery" module in PrestaShop themes.
Feel free to check the detailed video tutorial below:
PrestaShop 1.6.x. How to manage “TM Homepage Category Gallery” module