


- Web templates
- E-commerce Templates
- CMS & Blog Templates
- Facebook Templates
- Website Builders
FAQs
General Tutorials
Featured templates
MonsterONE Subscrioption


Hello! This video tutorial shows how to manage TM Look Book module in PrestaShop templates.
There is another great module which is included in our latest PrestaShop templates named TM Look Book.
This module allows to create lookbooks and combine them to collections. Lookbooks allow to view the products directly on the model.
Moreover, there is a possibility to mark a product in the lookbook and have a lookbook link displayed on the product page.
Let’s learn how to manage TM Look Book module.
The tutorial assumes you are already logged in to your PrestaShop administration area.
Navigate to Modules and Services -> Modules and Services tab:
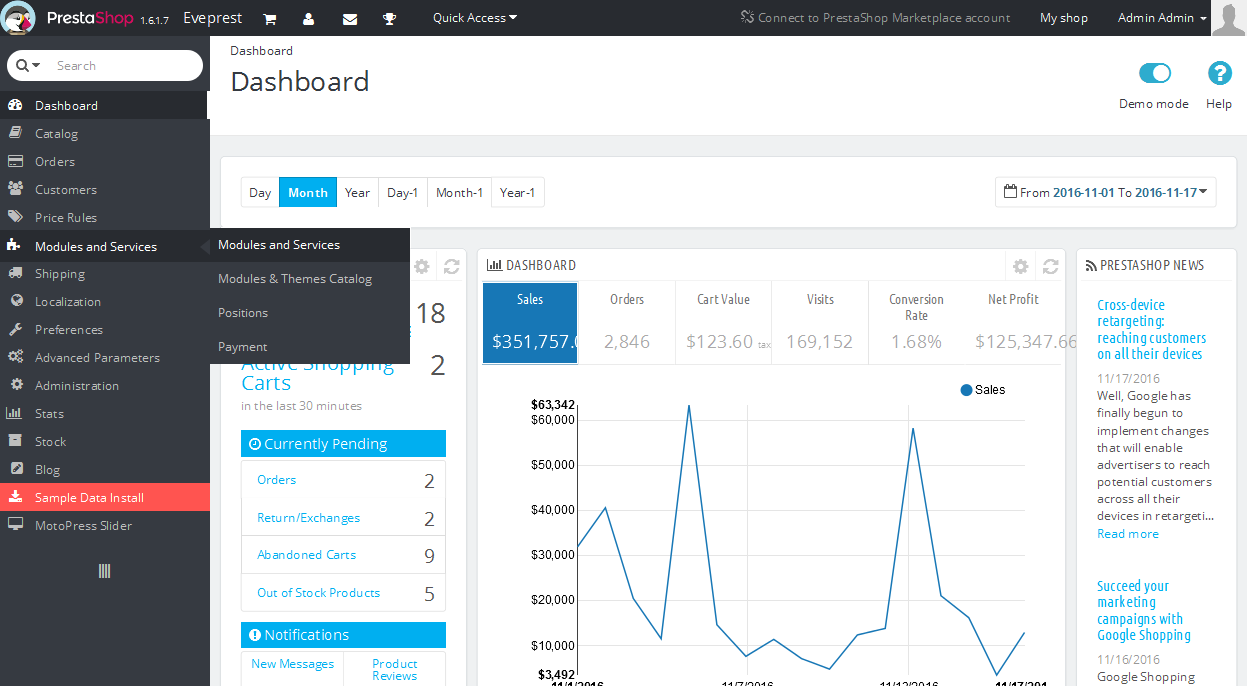
Use the CTRL+F/CMND+F key (Windows OS/Mac OS) to find the TM Look Book module – click “Configure” button next to the module to open it for editing:

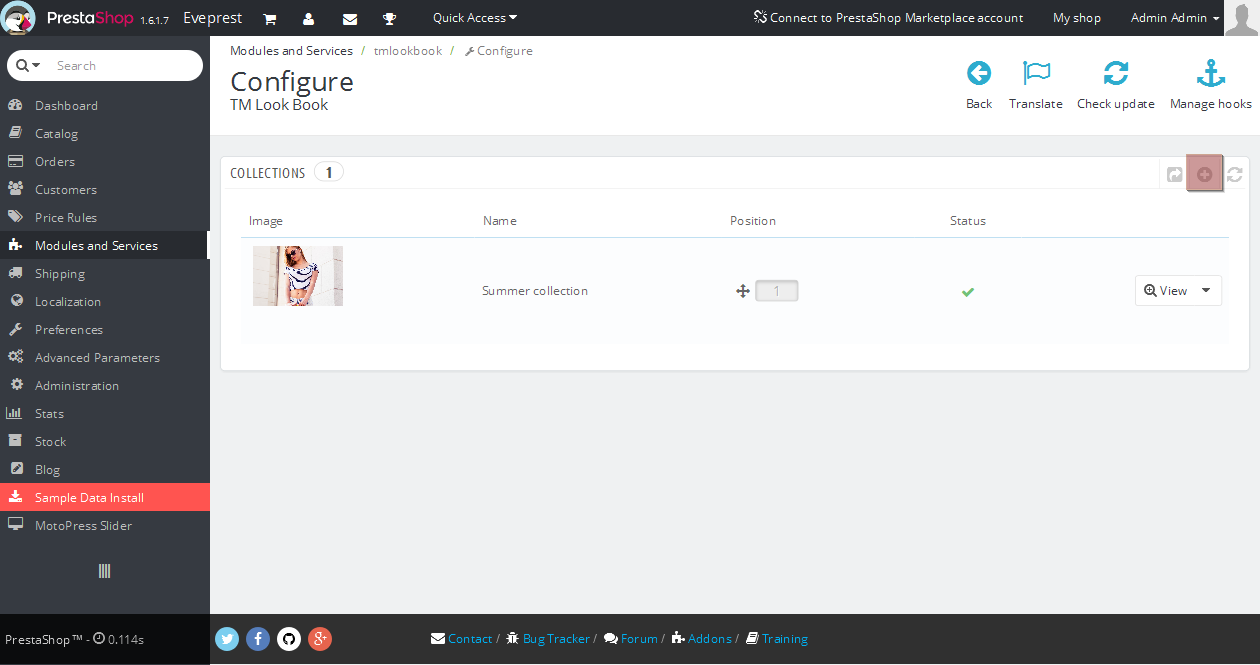
On the main page of the module you can create/delete/edit module collections.
Let’s say, you want to create a new collection.
At the main module page click on the “+” symbol:
At the appeared screen you should fill in following options: Status, Name, Description, Image and Template:
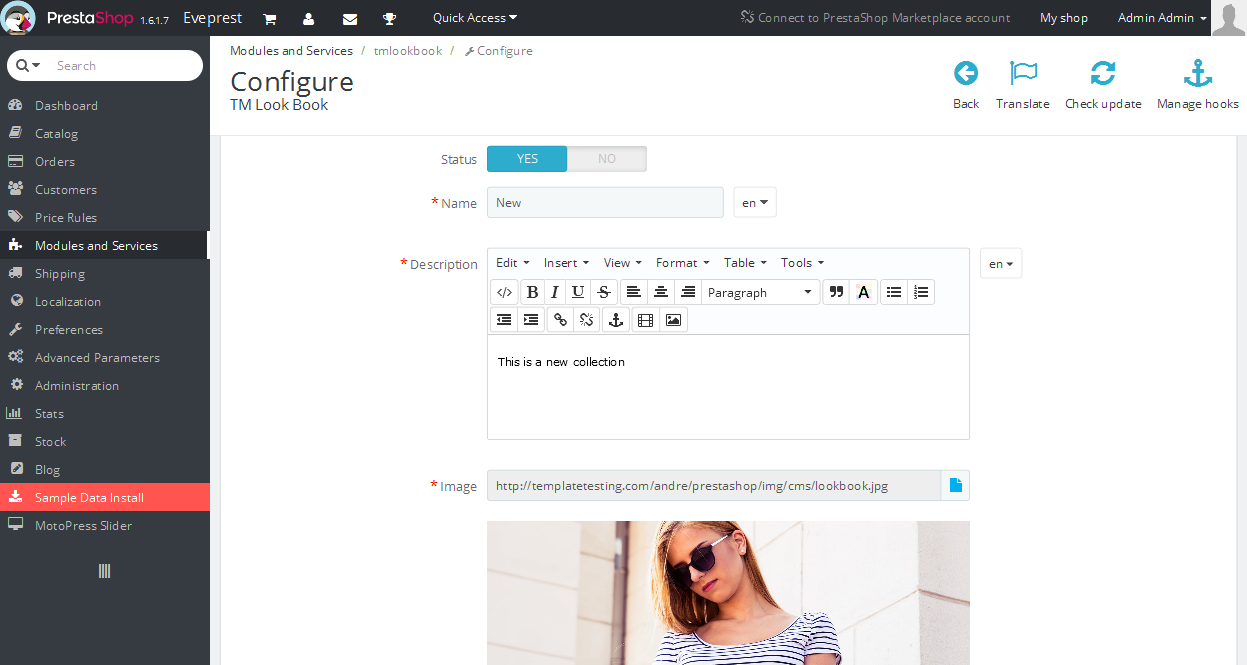
Click on a “Save” button to apply changes:

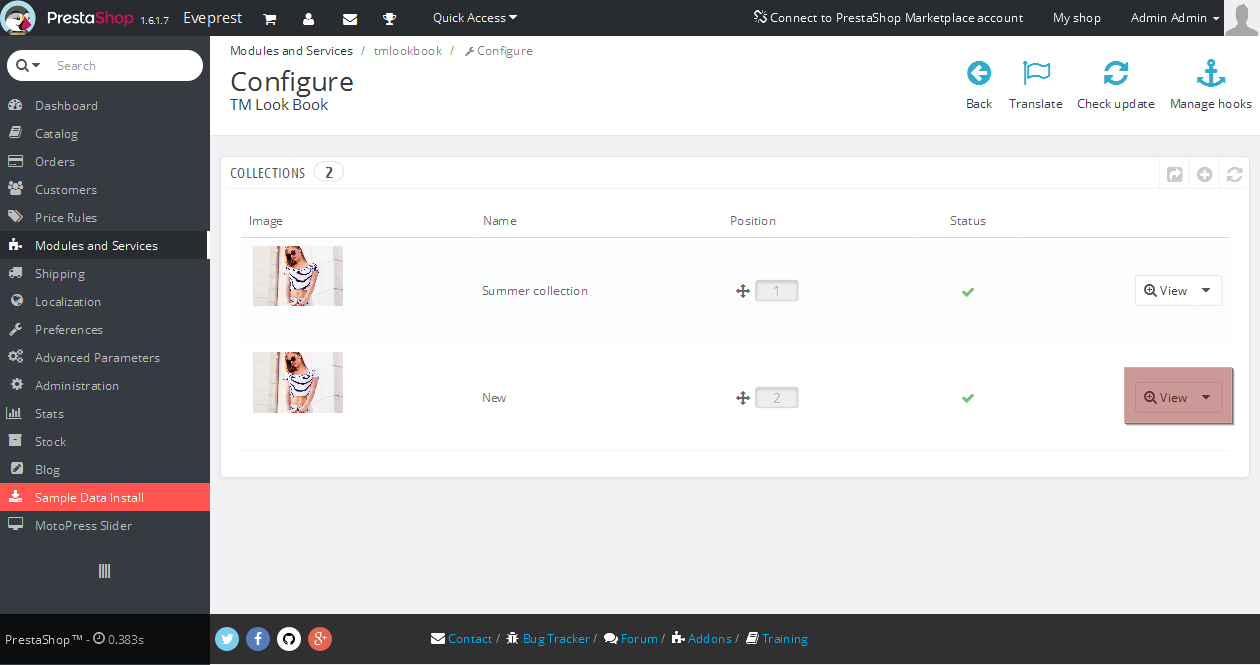
Now that the collection has been successfully added, you should add new lookbooks for it.
Click on the “View” button next to the newly created collection to open it for editing:
Then, click “+” symbol to add a new lookbook:

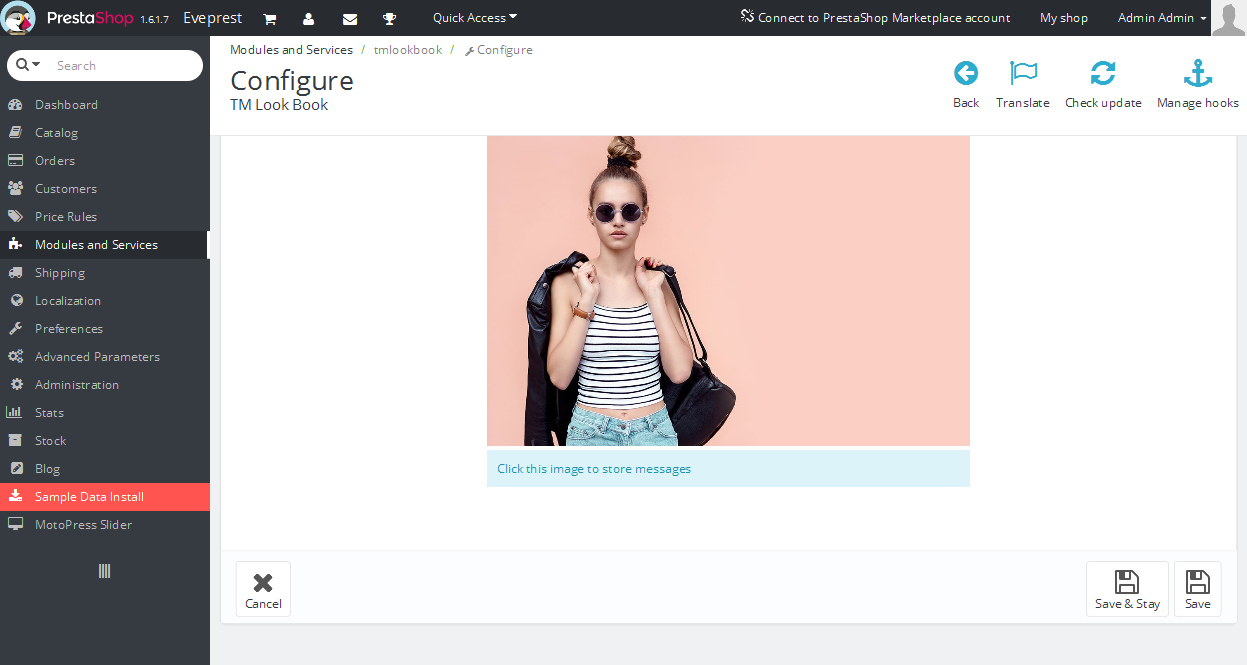
At the appeared interface fill in the following options: Status, Name, Description and Image:

It is essential that you add an image and then save changes using the “Save and Stay” button so you could add hotspots to your lookbook.
Now that it is done you are able to add your own hotspots:
Let’s proceed and add several hotspots to the newly created lookbook.
Click on any section of the lookbook – the hotspot pop-up will appear.
Choose whether you would like to have a product or just some content displayed in the hotspot:
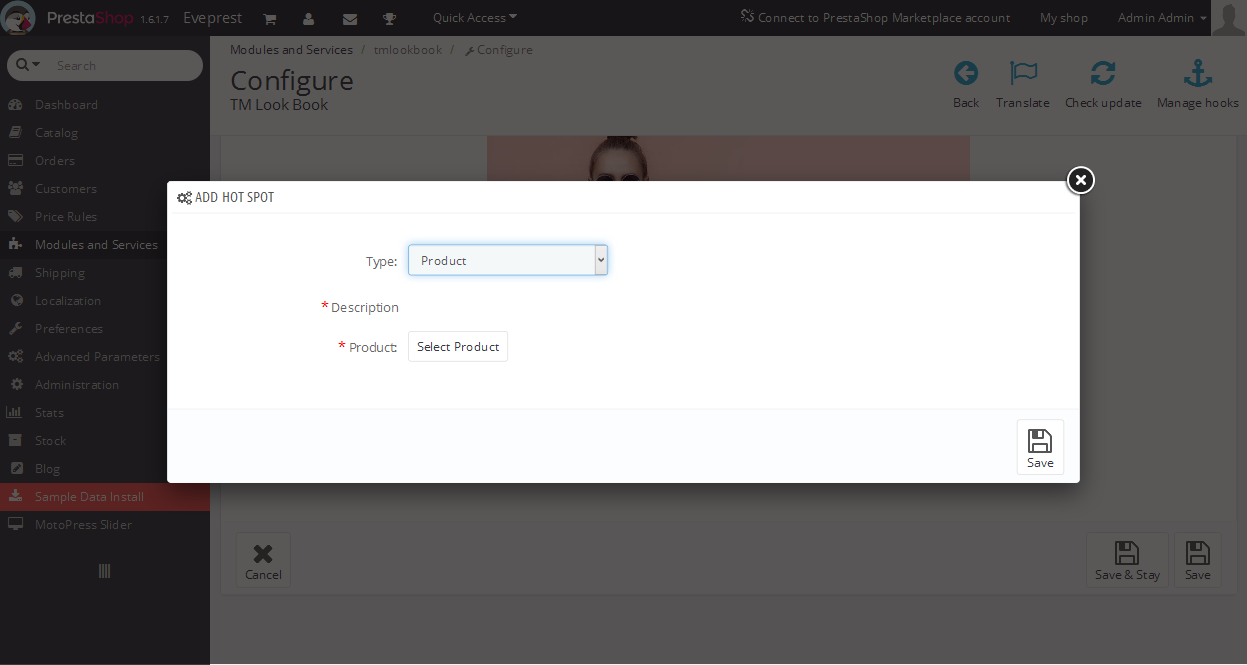
We suggest that you add products to the hotspots.
Choose the corresponding product by clicking “Select Product” button:
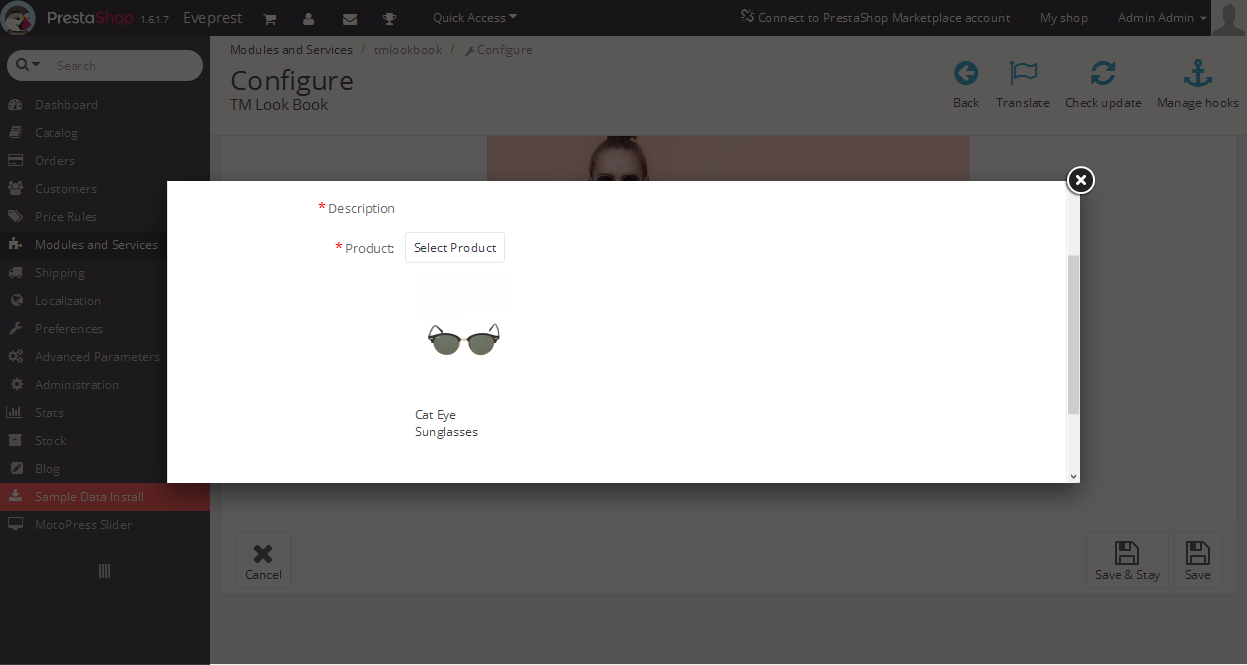
Scroll down and click the “Save” button to apply changes.
Now that the hotspot is added, you are free to simply drag-and-drop the hotspot to any desired location on the lookbook image.
Hover the hotspot to be able to remove it:
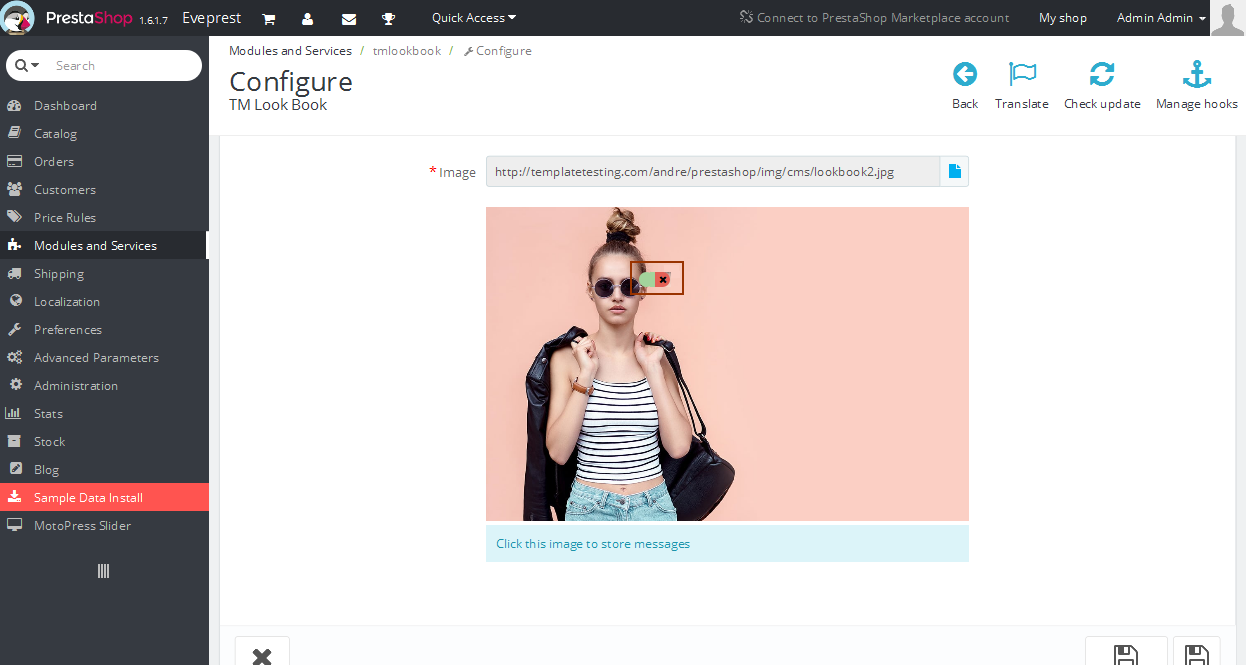
Let’s add one more hotspot:

Make sure to save changes.
Navigate to your store frontend and refresh the page where the TM Look Book module is assigned to to see the changes applied.
You can see the new lookbook displayed now:
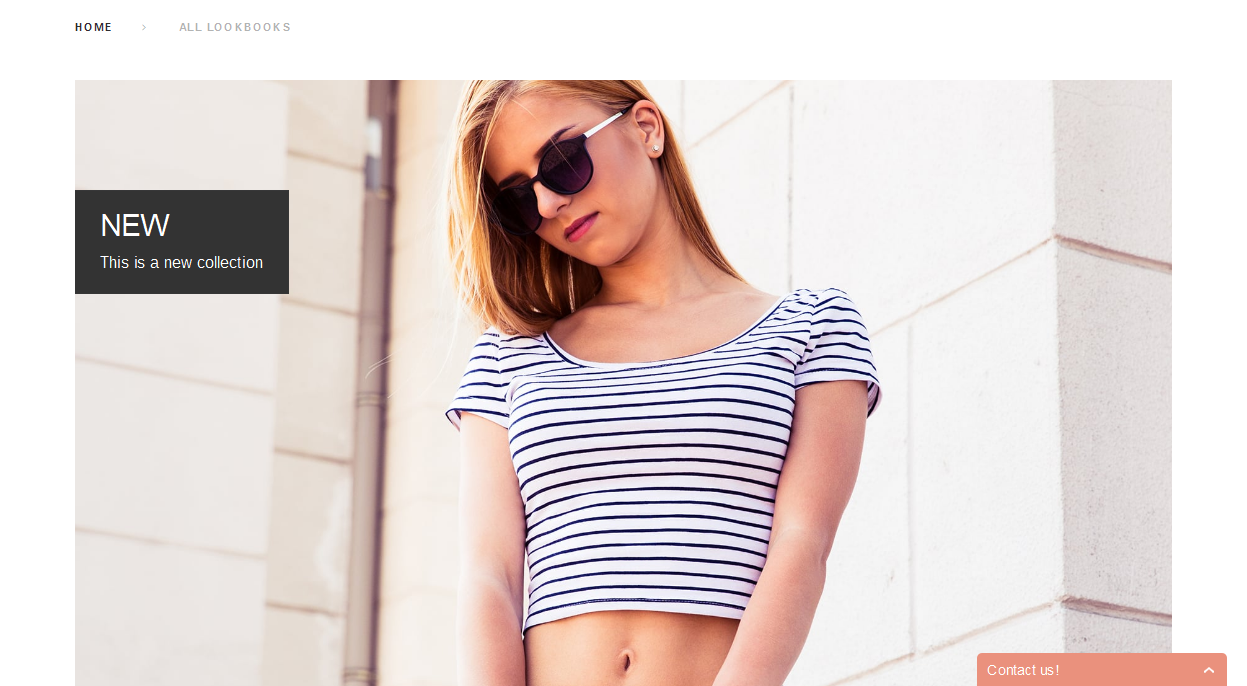
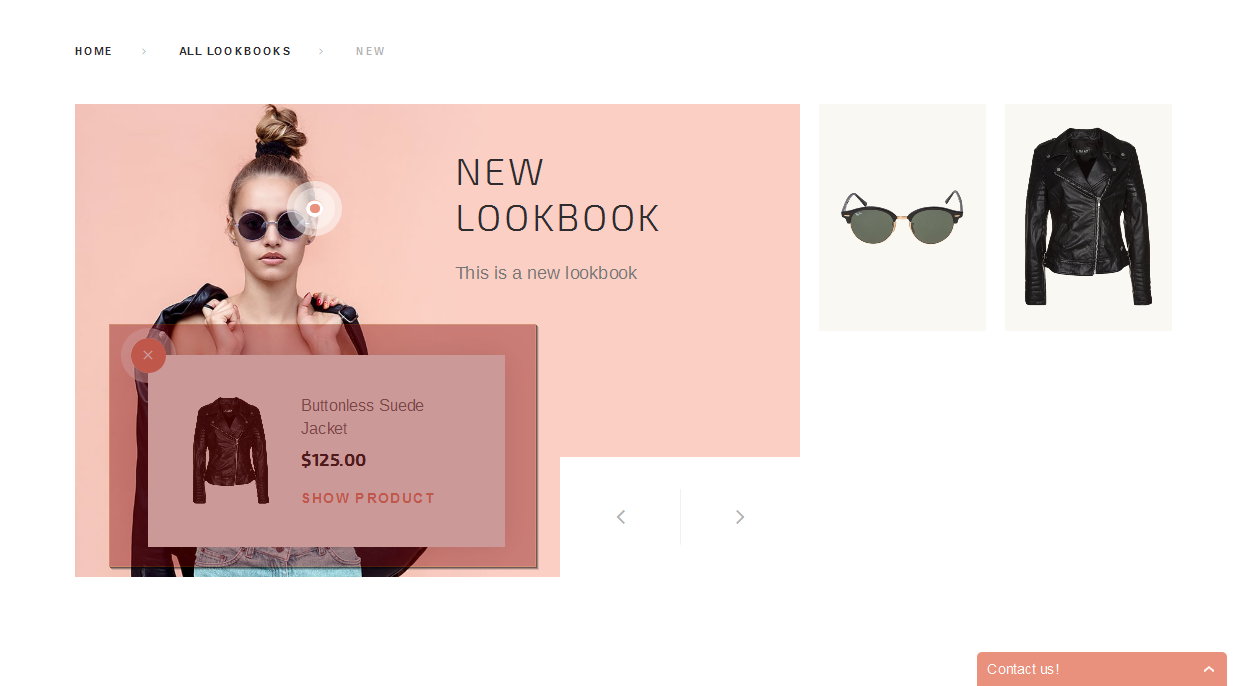
Click on the image to open the actual lookbook. As you can see, hotspots are linked to real products available on your site:
This is the end of the tutorial. Now you know how to manage TM Look Book module in your PrestaShop template.
Feel free to check the detailed video tutorial below:
PrestaShop 1.6.x. How to manage “TM LookBook” moduleBrowse through the PrestaShop 1.6.x. templates to view the latest designs and learn more about PrestaShop usability.
