


- Web templates
- E-commerce Templates
- CMS & Blog Templates
- Facebook Templates
- Website Builders
FAQs
General Tutorials
Featured templates
MonsterONE Subscrioption


The following tutorial will show you how to manage TM MotoPress Slider module.
This module provides the ability to add MotoPress Slider to your HTML page. It can be installed like any other PrestaShop module in Admin panel -> Modules and Services -> Modules and Services, you can check this tutorial for more details: PrestaShop 1.6. How to install a module.
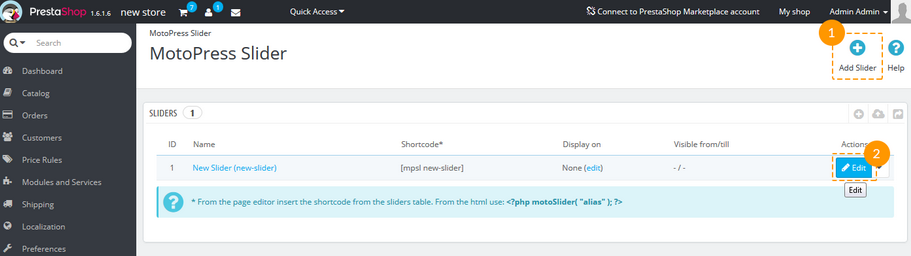
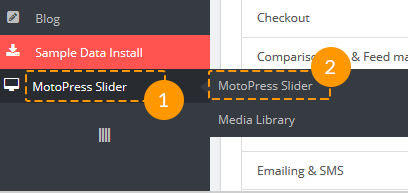
To manage it, click on the MotoPress Slider tab in the admin panel sidebar.
Now you are able to add new slider (1) or edit the existing one (2).
When you click on the Add Slider button, there’s an option to choose if it should be ‘Custom Slider’ or ‘Product Slider’.
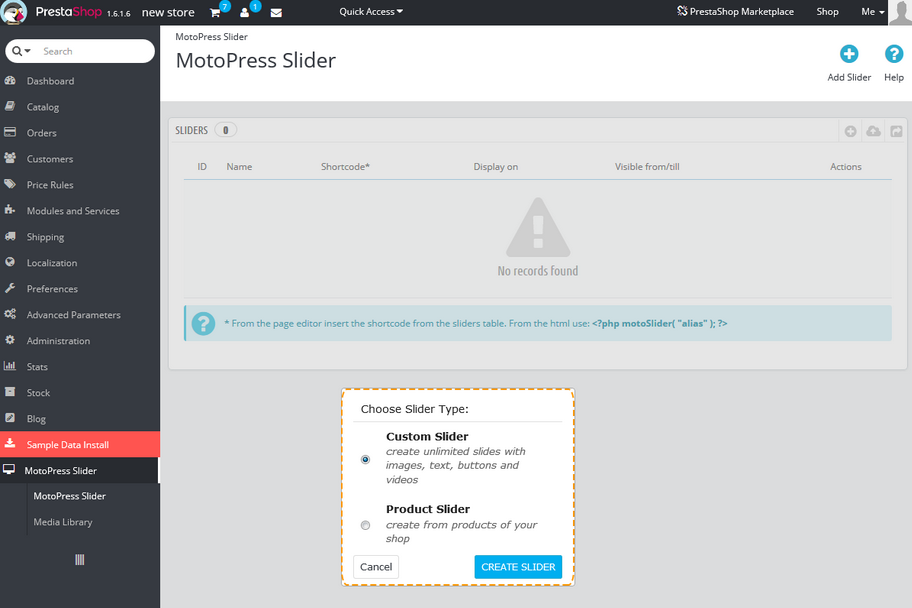
The difference between these two types is the following: Product slider is created from the products of your store, though in Custom Slider you can add as many slides as you wish, customizing them according to your needs.
You can configure the following MotoPress settings:
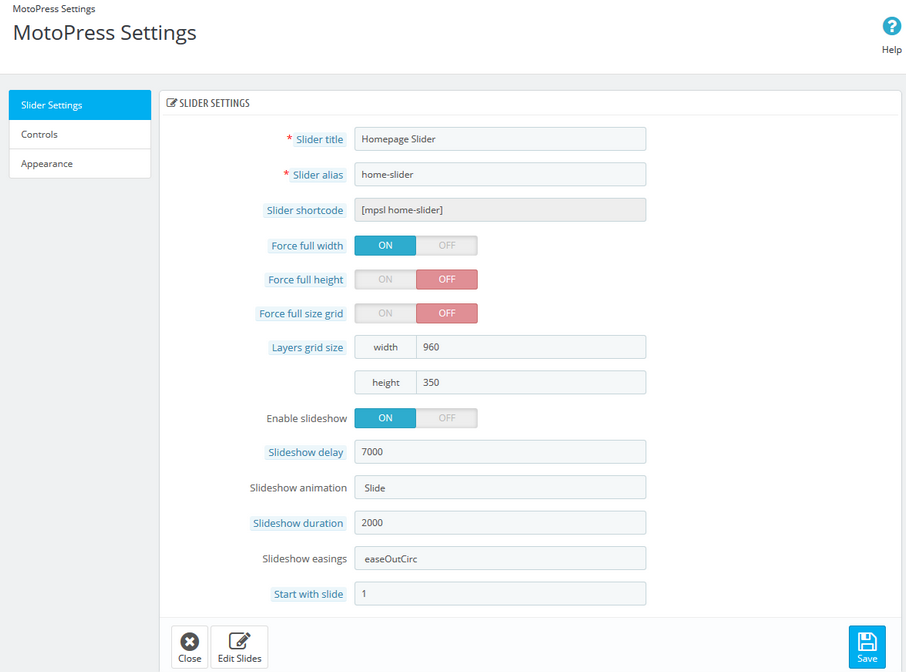
Slider settings
Slider title – the title of the slider (example: Slider1); it is required when you have several sliders and have to distinguish them.
Slider alias – the unique alias that will be used in shortcodes for embedding the slider (example: slider1); must be unique.
Slider shortcode – copy this shortcode and paste to your page.
Force full width – enable this option to make this slider stretch to fullwidth.
Force full height – enable this option to make this slider fullheight.
Force full size grid – makes grid stretch to parent container (but you still need to set grid width and height).
Layers grid size – allows to set initial width and height of the layers.
Enable slideshow – enable/disable the slideshow.
Slideshow delay – the time one slide stays on the screen; is measured in milliseconds.
Slideshow animation – choose the animation for changing slides.
Slideshow duration – animation duration in milliseconds.
Slideshow easings – easings on slide changing.
Start with slide – first slide index.
Controls
Show arrows – show/hide arrows.
Show bullets – show/hide bullets.
Show slideshow timer – show/hide timer.
Show slideshow play/pause button – show or hide play/pause button.
Hide controls when mouse leaves slider – hide controls when mouse is not on slider area.
Pause on hover – allows to pause slideshow while hover the slider.
Reverse order of the slides – animate slides in the reverse order.
Show counter – enable to display the number of slides.
Enable swipe – turn on swipe on desktop.

Appearance
Display on – hooks where the slider should be displayed.
Visible – min. and/or max. screen resolutions when the slider is visible (can be set using the presets: phone / tablet / desktop).
Initialization delay – the delay before slider initialization (should be set in milliseconds).
Initialize slider on scroll – choose if you want the slider to be initialized on scroll.
Slider custom class name – name of custom class which is used for slider.
Slider custom styles – custom CSS styles can be added directly in this textarea.

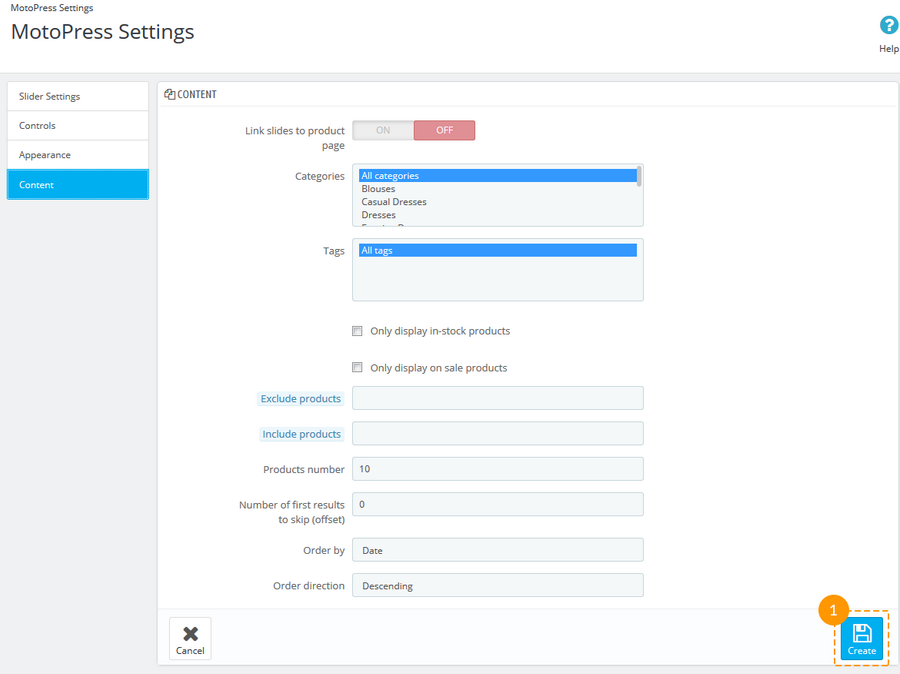
Content
This menu appears only for the Product Slider. Press the ‘Create’ button (1) when it’s configured.
Link slides to product page – enable if you want the product page to be opened after the click
on slide with the product.Open in new window – enable this option to open the product page in new window.
Categories – categories with products to show in slider (Ctrl + click to select several categories).
Tags – tags to be included.
Only display in-stock products – only products in stock will be displayed.
Only display on sale products – only products on sale will be displayed.
Exclude products – add Product IDs, separated by comma.
Include products – add Product IDs, separated by comma.
Products number – number of products to be displayed.
Number of first results to skip (offset) – the number of first slides which will not be shown.
Order by – type of order to be applied.
Order direction – descending or ascending order direction.
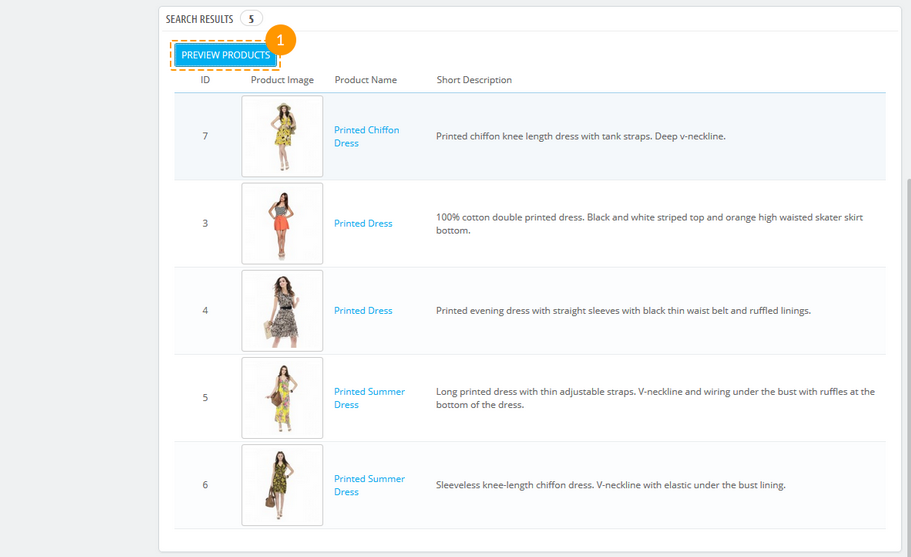
Below there’s a list of products to be displayed in slider. After you’ve made any changes in settings, press the ‘Preview products’ button (1).
After the slider has been configured, press the Save button.
After pressing Edit for the individual slide, you will see the following settings:
General

Color
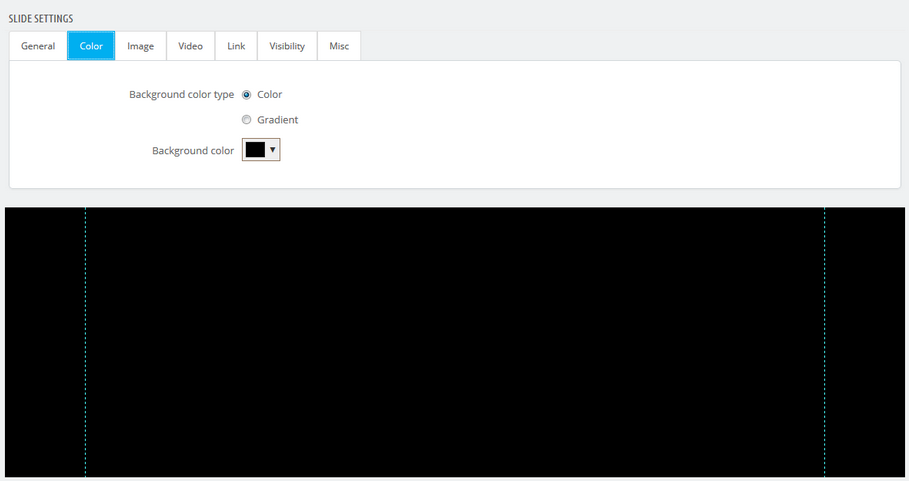
If you choose gradient, select gradient color 1, gradient color 2 and the gradient angle.

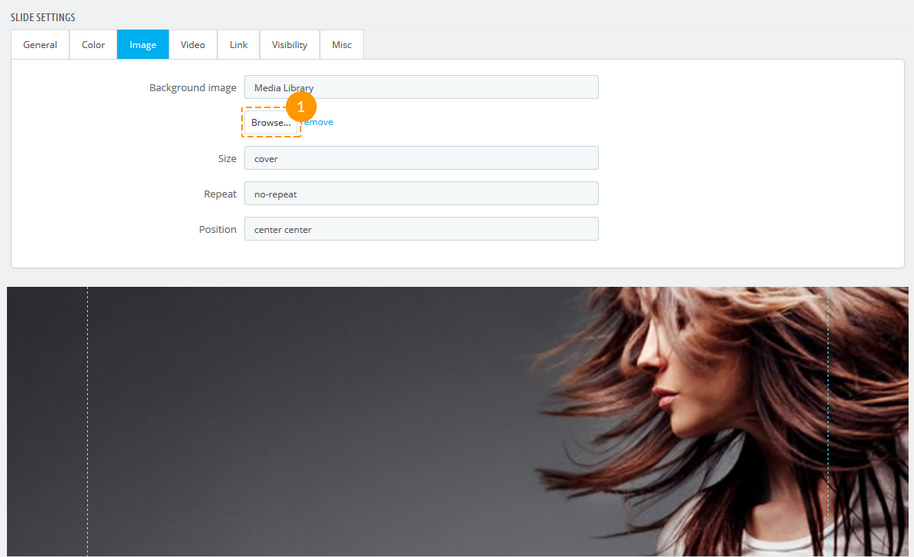
Image
Background image can be attached from the Media Library or from the external URL.
Image can also be added from your local folder to the Media Library. To do this press the ‘Browse’ button (1).
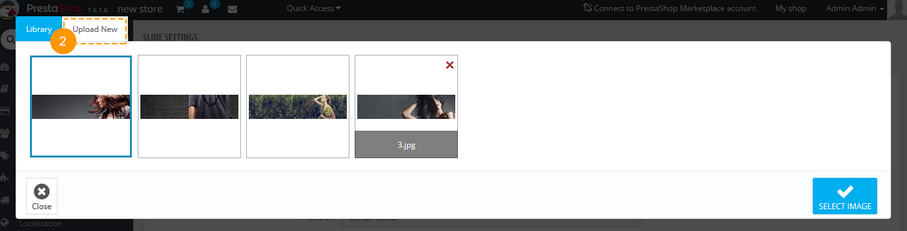
Then choose ‘Upload New’ (2) tab and click on the selected area or simply drag the images into it.
Video
You can add video to your slide. To add video choose sources for different video formats and set other parameters for video display. You’ll need to upload a video in MP4, WEBM or OGG format and provide the video file URL in Video tab.
Settings for video display can also be adjusted.

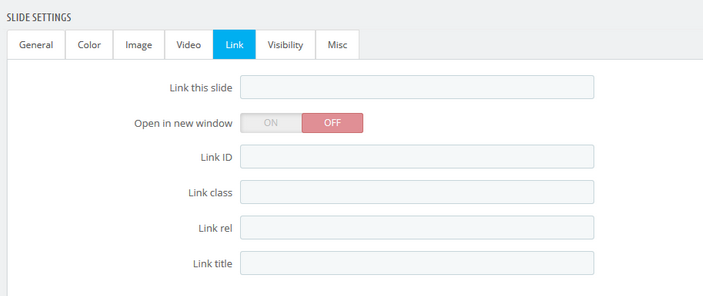
Link
Link tab allows adding a link to your slide, assign the id, class, add link title and relation:
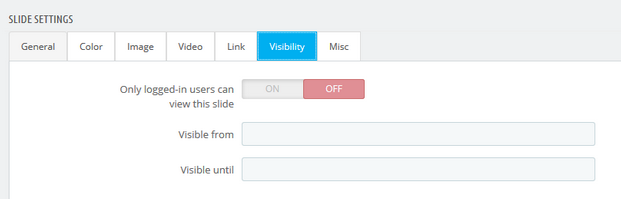
Visibility
Slide visibility options can be managed from the Visibility tab:
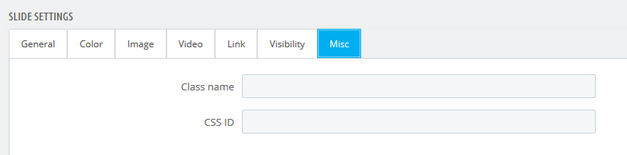
Misc
Misc section allows assigning a CSS class or id to the slide.
Click on a Save slide button when you are done making the changes.
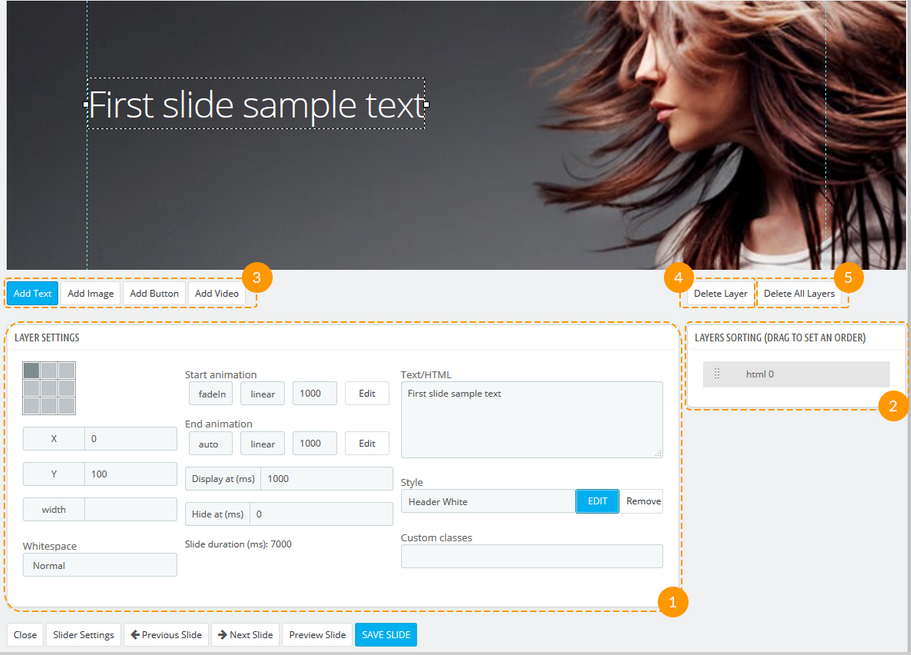
Under the image you can see the Content management.
Here you can add texts, images, buttons and video to each slide.
It is divided into two main sections: ‘Layer Settings’ (1) and ‘Layers Sorting’ (2).
Above the ‘Layer Settings’ area there are four tabs for adding the needed content (3).
After you’ve chosen what element you want to add, you can go further with the detailed customization.
The great feature is that these contents are added as individual layers, so you can drag them up and down to set their order in the ‘Layers Sorting’ section (2).
Layers can be deleted separately (4) or all at once (5).
For more detailed settings, please, check the following guide.
To export the slider, perform the following steps:
Go to MotoPress Slider in your admin panel (1, 2).
Click on the ‘Export’ button (3).
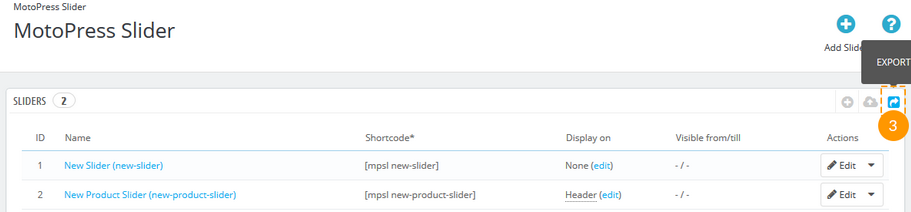
Choose sliders you want to export (4) and click ‘Export sliders’ button (5).

You’ll be prompted to save the exported .json file to your PC.
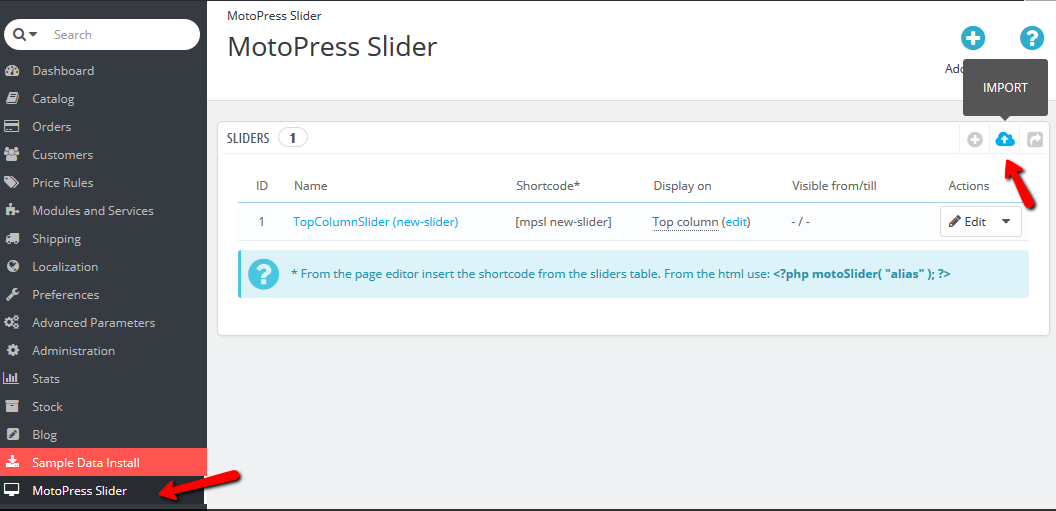
To import the slider, perform the following steps:
Press Import in the MotoPress Slider section.
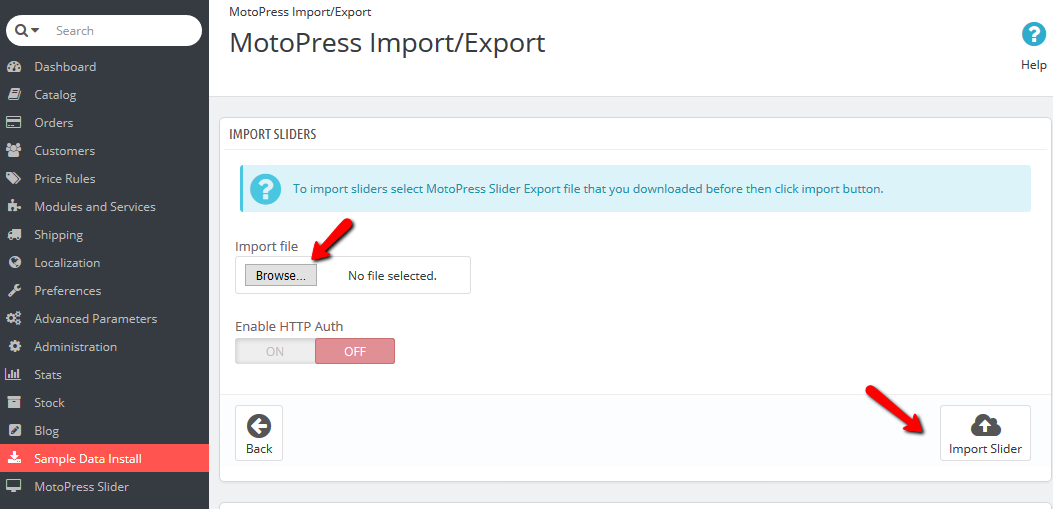
Select the exported .json file from your PC clicking the ‘Browse’ button, and press ‘Import’.
Feel free to check the detailed video tutorial below:
PrestaShop 1.6.x. How to manage “TM MotoPress Slider” moduleAnd don’t forget to browse our brand new PrestaShop Templates that extend the functionality of your website.
