


- Web templates
- E-commerce Templates
- CMS & Blog Templates
- Facebook Templates
- Website Builders
FAQs
General Tutorials
Featured templates
MonsterONE Subscrioption


This tutorial provides an explanation of how to resize and crop images in Media Library in WordPress.
WordPress. How to resize and crop images in Media library
.jpg)
Log into your WordPress admin panel and navigate to Media -> Library:

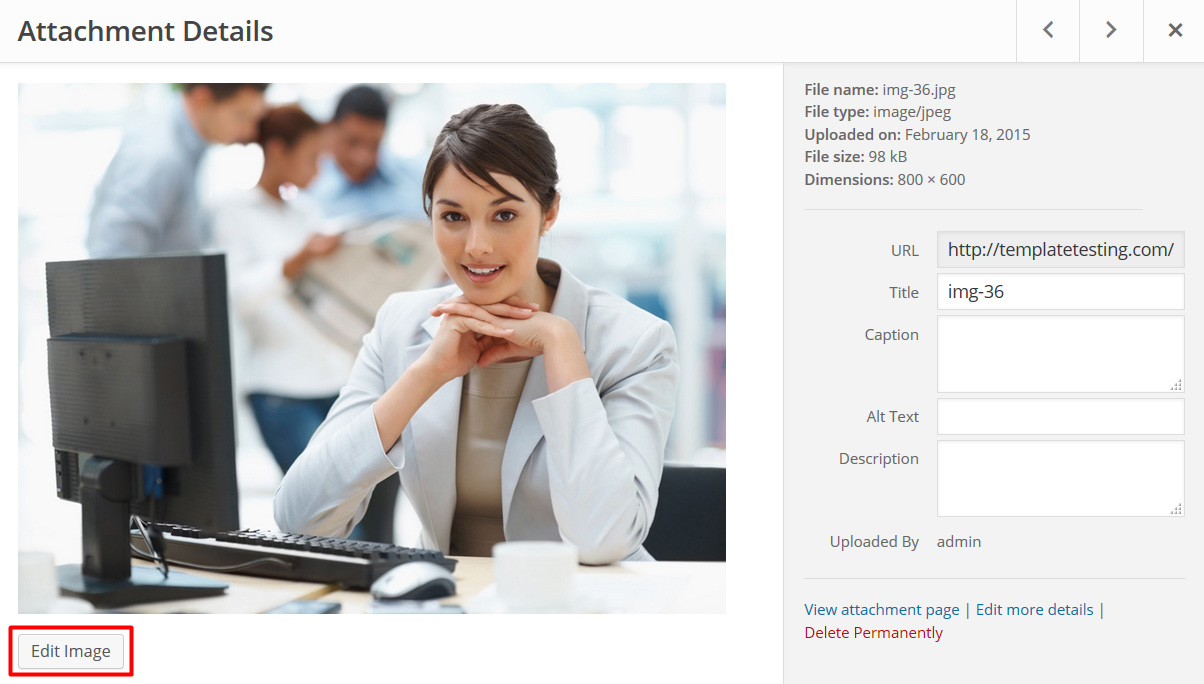
Select the picture you want to work with and click on it.
Hit the Edit Image button under the picture:
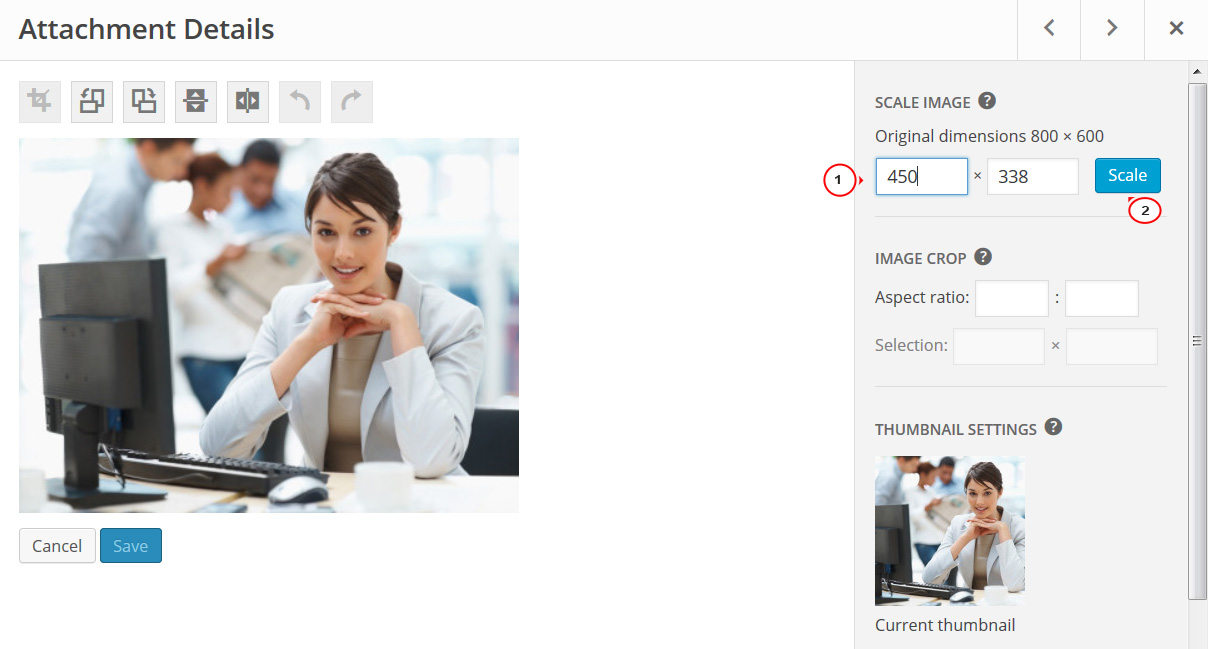
In order to resize your image, locate the Scale Image section on the top right side of the screen.
Please note that scaling should be done before cropping and you can only make images smaller (not larger).
Change the width or height (the first and second fields respectively) to the desired dimension and you will see that other field will be adjusted automatically and proportionally.
Once you are done, hit the Scale button:
Refresh and check your website to see your changes.
You can verify whether the image dimensions are correct by using a developer tool, for example Firebug (for Mozilla Firefox):

In order to crop your image, click on it and drag with your mouse to select that part of the image you would like to have.
Once you have selected the desired part of the image, you will see that dimensions are displayed in Selection input fields under Image Crop section. If you wish, you can enter these dimensions manually as well, otherwise you may skip this step.
If you would like to crop your image according to a specific aspect ratio, you should enter the values (e.g. 1:1 (square), 4:3, 16:9, etc.) into Aspect ratio fields (otherwise you may skip this step as well). Hold down the Shift key on your keyboard and drag one of the edges of your selection to enlarge or reduce the size of a cropped area. If you already made a selection, the specified aspect ratio will automatically change your selection box to match it.
Once you are done with cropping, hit the Crop button just above the picture and you will have your new image:

If you do not like your cropped image for some reason, you can press the Revert or Redo buttons above the picture to revert or redo your last change respectively and start cropping once again:

Select to what sizes (thumbnail, all sizes, etc.) of current image you would like to apply your changes by choosing one of the options in Thumbnail Settings section.
Press the Save button in order to save your cropped image:

Refresh and check your website to review your edited picture.
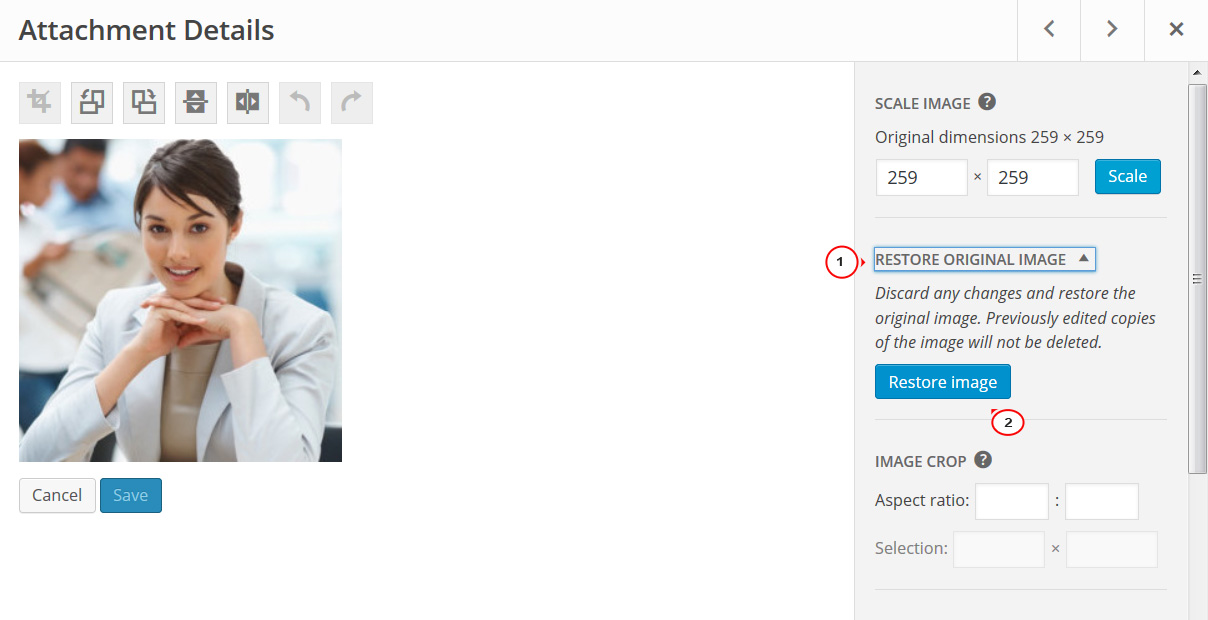
Also, if you are not happy with your changes, you can always restore original image by pressing the Restore image button below the Scale Image section:
Now you know how to resize and crop images in Media Library in WordPress.
Feel free to check the detailed video tutorial below:
