


- Web templates
- E-commerce Templates
- CMS & Blog Templates
- Facebook Templates
- Website Builders
FAQs
General Tutorials
Featured templates
MonsterONE Subscrioption


This tutorial is going to introduce you to the pagination in your WordPress template created with the WP-PageNavi plugin. Its main feature is a more advanced paging navigation of your WordPress blog like this instead of the typical "Older Post/Newer Post" links:

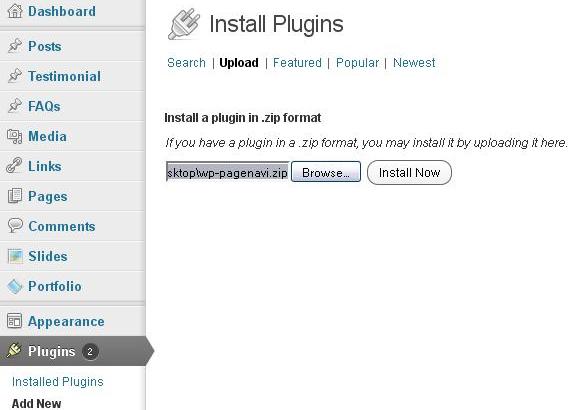
If it comes with your template, you will find the installation wp-pagenavi.zip in the sources/plugins folder of your template package. To install it, navigate to that directory from the Plugins -> Add New -> Upload and click Install Now:
Once it is installed, click Activate under it in your Plugins menu.
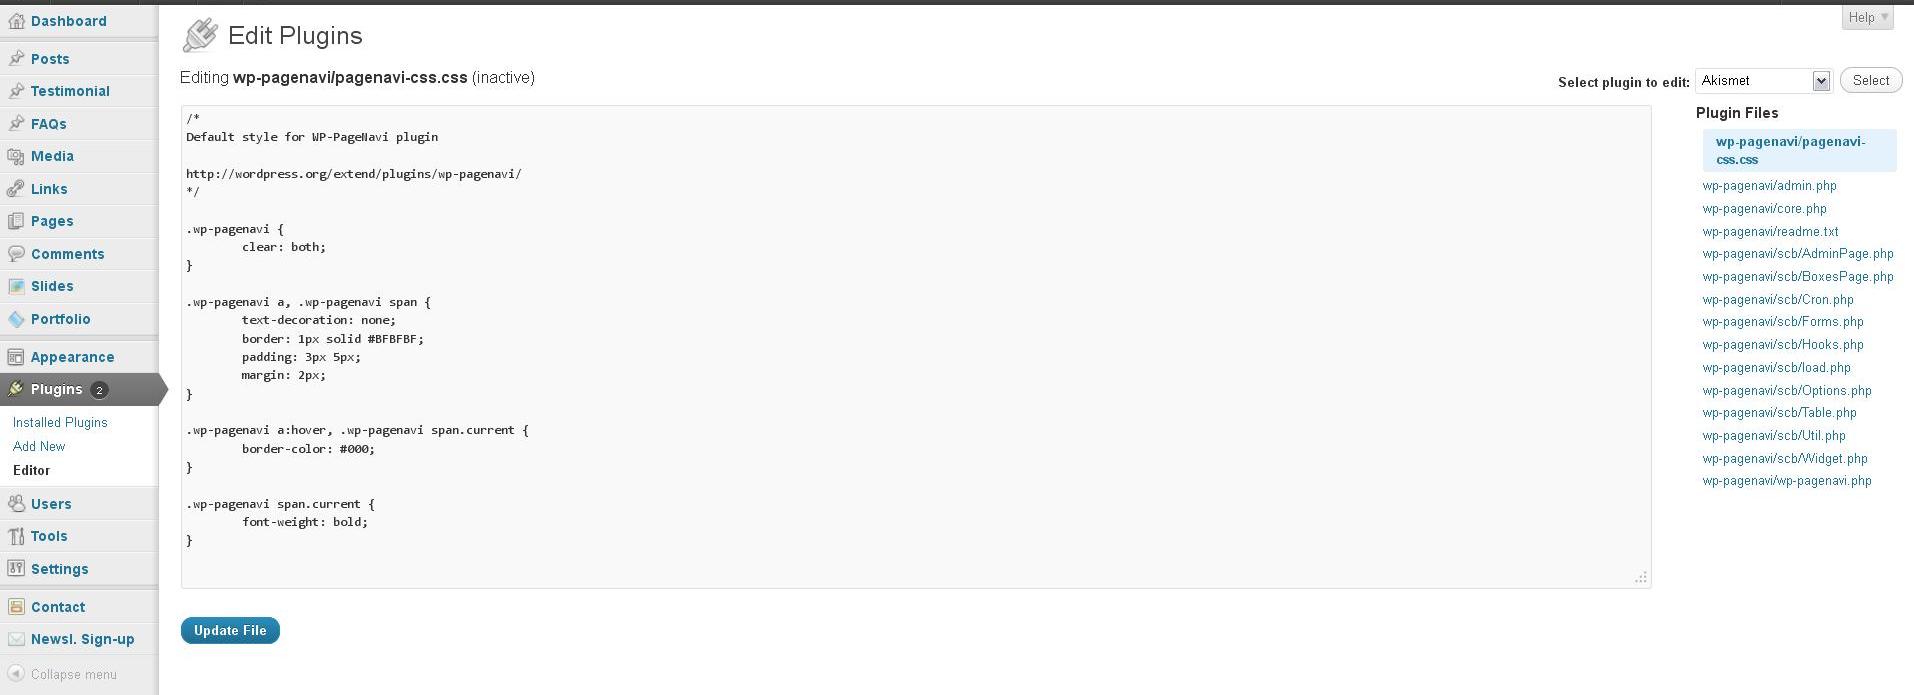
Every aspect of WP-PageNavi is customizable through your admin panel. The style can be configured via CSS in wp-pagenavi/pagenavi-css.css(under Plugins -> Installed Plugins -> WP-PageNavi -> Edit)
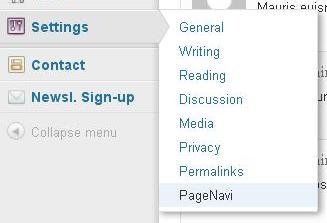
And text that is displayed can be configured in WP-Admin -> Settings -> PageNavi
Let’s make a quick overview of the the PageNavi Settings, all of them are quite self-explanatory:
Page Navigation Text
Page Navigation Options:

When you are through with your changes, click the Save Changes at the bottom and click Visit Site to check them out.
Feel free to check the detailed video tutorial below:
