- Web templates
- E-commerce Templates
- CMS & Blog Templates
- Facebook Templates
- Website Builders
WordPress. How to work with the social icons (based on Cherry 3.x options)
July 22, 2015
This tutorial shows to work with WordPress social icons (based on Cherry options):
-
Please, open Cherry Options -> Social tab in order to access social icons settings. You can specify links for the appropriate icons. Be sure to use http:// or https:// when you set the link:
-
Let’s add one more social icon. Go to Appearance -> Editor section and click on the options.php file for editing.
Locate the appropriate part of code using browser search function. Please, check the screenshot below. You will see the code we are referring to:
-
Copy original code for one of the icons and paste it. In our case the code has the following structure:
$options['facebook'] = array(
"name" => "Facebook URL",
"desc" => "Facebook URL",
"id" => "facebook",
"std" => "#",
"type" => "text"
);
-
We are going to use Youtube icon. You should specify its name, it should be the same as the "id" field. Save the changes:
-
Now you should open the themeXXXXX\static\static-social-networks.php file for editing (XXXXX is the actual theme number). We can see the array of social networks.
Add one more item here. We have added youtube icon which we have defined in options.php file (in the previous step). Save changes.
Please, note that such code is being used for FontAwesome icons. It adds icon class automatically to the icon name. In our case the class will be ‘icon-youtube’. You can find more information regarding FontAwesome icons in the video version of this tutorial.
-
Go to Cherry options -> Social tab and specify your new icon URL. Be sure to save changes:
-
We have added a new icon:
-
The new icon might not show up automatically, in this case you’ll have to add a style rule to make it visible. Open the Appearance -> Editor section in site admin panel and click on the Stylesheet (style.css) file to do this. Then paste the following rule to the bottom of the file:
.social-nets-wrapper ul li a[title="youtube"]:before {
content: "\f167";
}
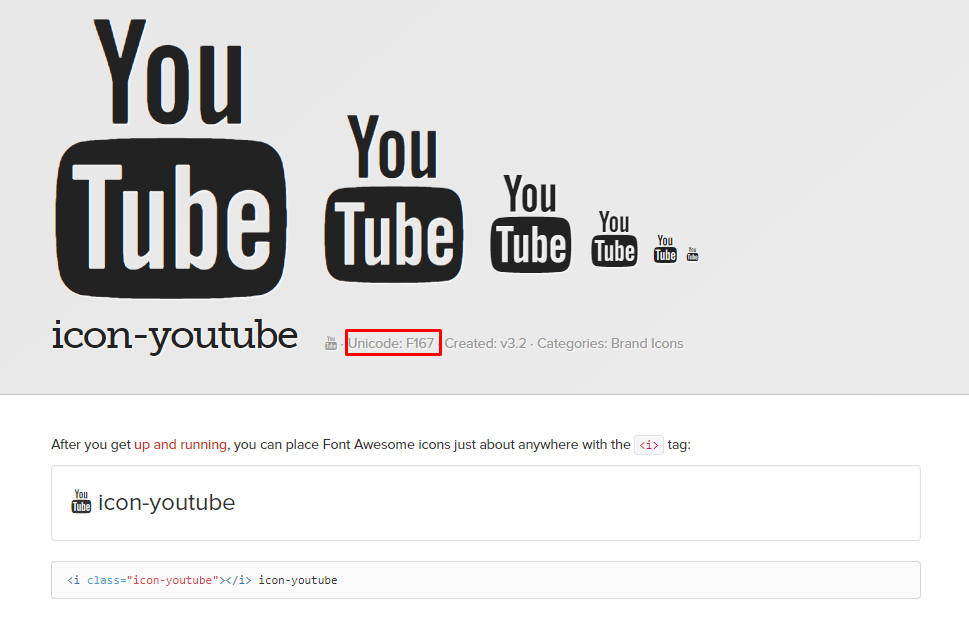
Here “youtube” is a title of an icon you’re adding (it will differ in your case. E.g., it might say ‘instagram’, ‘yotpo’, etc.). The content value should include the unicode of an icon you want to display – to find it, open the FontAwesome icons list (v3.x or v4.x) and click on the exact icon to see its unicode at the single icon’s page:

-
You may also change the order of icons. Just change order of icons in options.php file:
Change order of icons in static-social-networks.php file respectively:
-
We have changed the order of icons:
Feel free to check the detailed video tutorial below:
WordPress. How to work with the social icons (based on Cherry options)


.jpg)
