- Web templates
- E-commerce Templates
- CMS & Blog Templates
- Facebook Templates
- Website Builders
CherryFramework 4. How to replace material design icons with images
September 29, 2015
This tutorial is going to show you how to replace Material or FontAwesome design icons with images in CherryFramework 4 templates.
CherryFramework 4. How to replace material design icons with imagesIn order to replace Material design icons with the images, please follow the steps listed below:
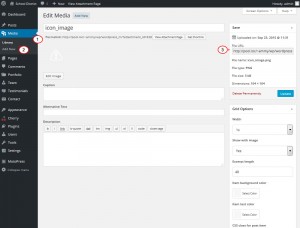
Upload your icon under Media > Library section in your admin panel. Copy image URL after uploading:

-
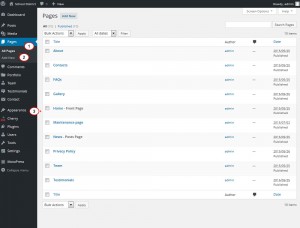
Navigate to Pages > All Pages section in your admin panel. Open the page you wish to edit:

-
Locate cherry icon shortcode:
[cherry_icon icon="icon: material-design-clock100" size="50" color="#ffffff"]
-
Replace icon: material-design-clock100 with the link for the image you wish to use.
Save the changes and check your site.
Feel free to check the detailed video tutorial below:
CherryFramework 4. How to replace material design icons with images


.jpg)
