Categories

osCommerce. Final steps of installation

Alex Ross November 15, 2010
Rating: 5.0/5. From 2 votes.
Please wait...

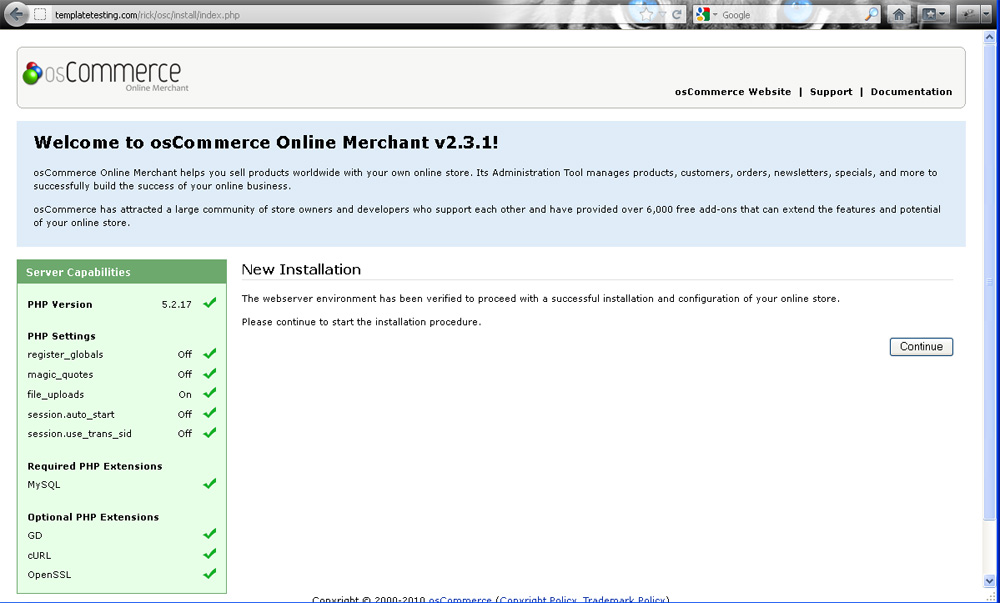
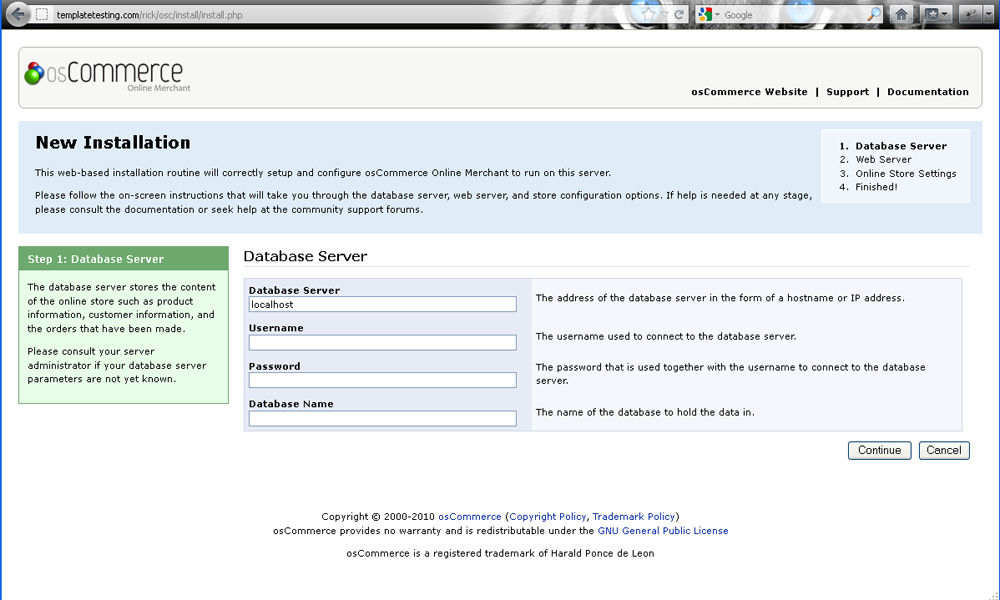
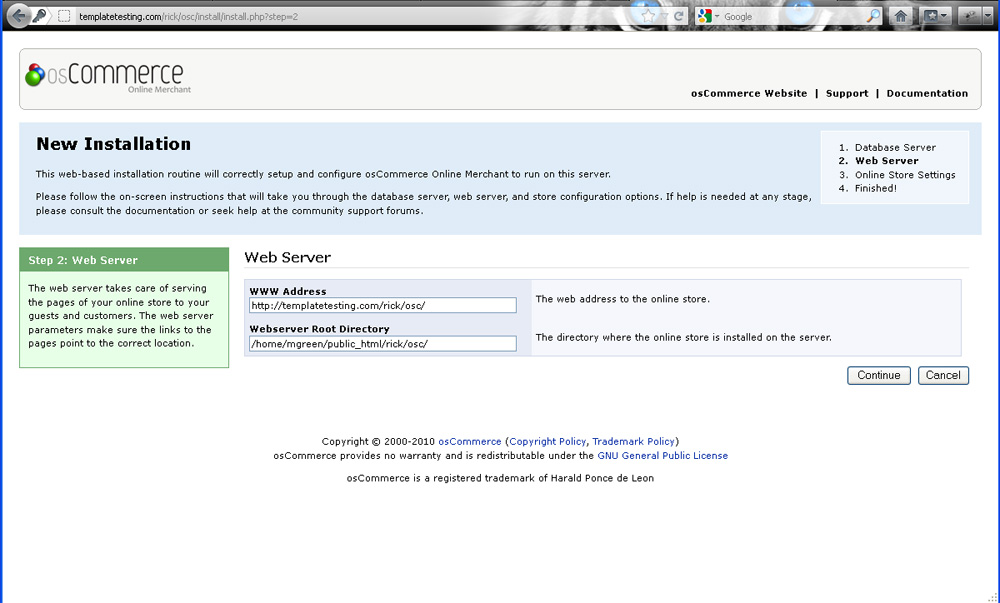
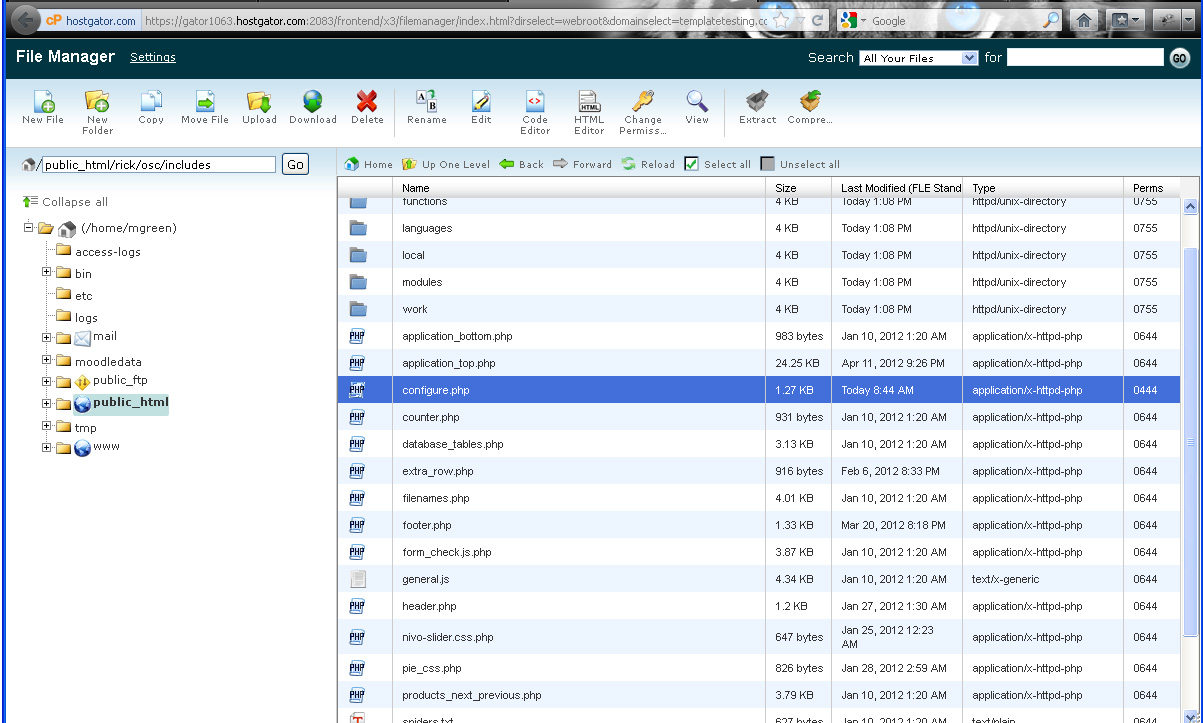
This tutorial will be useful to those who are going to complete their OS Commerce installation. So you supposed to have your files on the server (if you don’t know how to do it please check the tutorial: osCommerce. Uploading files and changing permissions.

  1. Please go to your site and you will see there the installation guide.
  2. In the database settings you are supposed to set the database details. (Please be advised that your database should not contain any other tables)
  3. On the second step, you’d set up your website URL address and the path to your root directory.
  4. Please set basic settings to your store on the Online Store Settings page.
  5. Now the installation is successfully finished but there are a few things to do before you start working with your on-line store. Please go to your root folder on your server and remove your “install” folder, so none can reinstall your template again. (We use File Manager of our hosting, you can use any comfortable way to move or edit your files (it can be Filezilla or Cyberduck))
  6. Please go to includes/configure.php and set the permissions to 444. Please do the same with the file admin/includes/configure.php. It will save your files from rewriting.

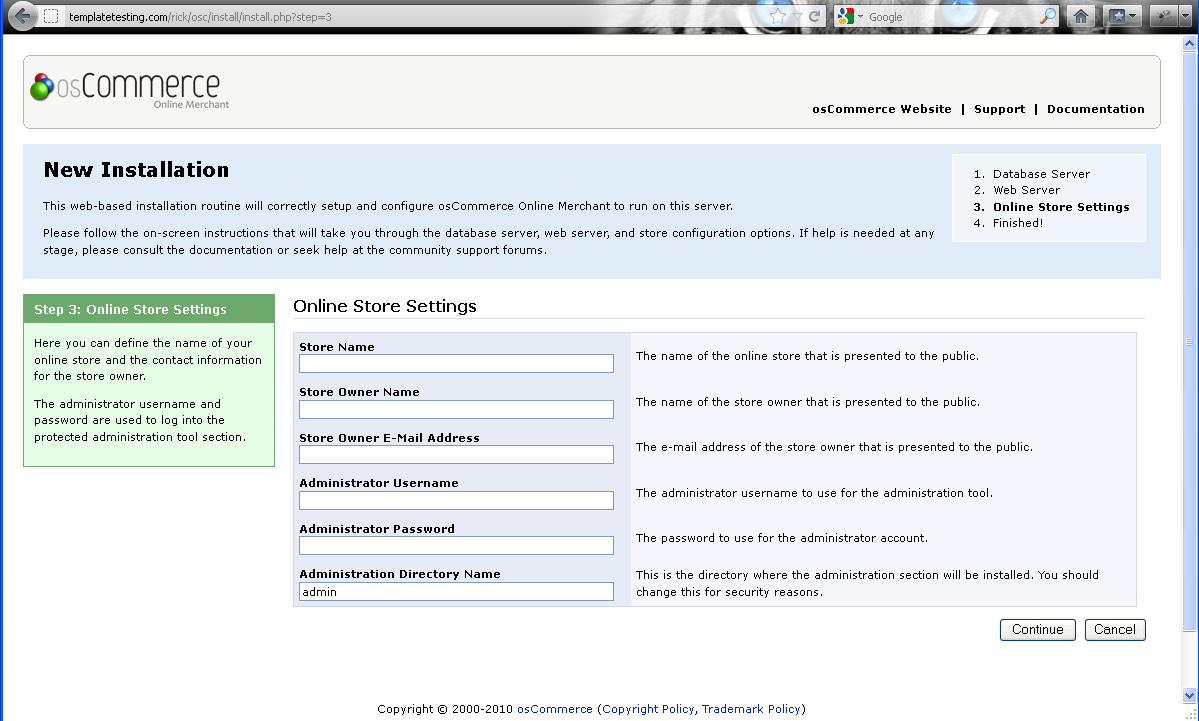
Well done, now you can edit your store according to your preferences. We wish you good luck and make a great business with your site.

Feel free to check the detailed video tutorial below:

how to change Google Map location in WordPress
This entry was posted in E-commerce Templates, OsCommerce, OsCommerce Tutorials and tagged install, osCommerce. Bookmark the permalink.

Submit a ticket

If you are still unable to find a sufficient tutorial regarding your issue please use the following link to submit a request to our technical support team. We'll provide you with our help and assistance within next 24 hours: Submit a ticket