- Web templates
- E-commerce Templates
- CMS & Blog Templates
- Facebook Templates
- Website Builders
VirtueMart 2.x. How to change product image dimensions
April 1, 2013
This tutorial is going to show you how to change product image dimensions in a VirtueMart template.
How to change product image dimensions in a VirtueMart template.If product images in your template have landscape (portrait) orientation and you need to change it to a new image with portrait (landscape) orientation:
- Login to the administratior backend of the Joomla site.
- Go to the top menu Components ->Virtuemart.
- Click on Products on the left.
- Look for the product you want to change the image of and click on it.
- Click the Product Images tab to upload a new image.
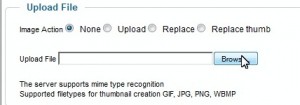
- Scroll down till you see Browse under Upload File and click on it.
- Navigate to a new image that has a different (landscape vs portrait) orientation on your computer, click on it and click Open.
- Click on Save at the top right of the page.
- You should see a message saying “Product successfully saved”.
 Proceed to uploading a thumbnail (needed only unless Enable Dynamic Thumbnail Resizing under VirtueMart -> Site tab is enabled) – under Upload File select Replace thumb, click Browse to navigate to the image and upload it. Click Save.
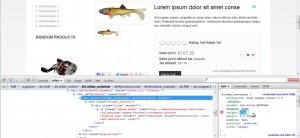
 - Open the product info page from the front ends of your site in the Firefox browser with Firebug installed. Using Firebug you need to determine what height the new image should be and what line in .css should be edited for that.
- Open the Firebug window by clicking on its icon at the top right corner of your Firefox browser.
- Select Click an element in the page to inspect.
- Click the image frame and manually change its height in Firebug.
- Right click on the name of the .css file in Firebug and select Copy location.
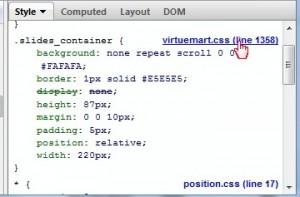 It should be a virtuemart.css located in the templates/theme_###/css/ folder on your FTP, butsometimes a different file/location depending on your particular template design.
 - Open an empty file and right click to paste the location. Look for the same .css on your FTP file and open it to make the changes.
- Copy the whole line where the height was changed from Firebug and change the same line in .css with it.
- Save the changes made to the .css file.
- Refresh the product page again. The frame for the new image should now look correctly.




Feel free to check the detailed video tutorial below:
VirtueMart 2.x. How to change product image dimensions


