


- Web templates
- E-commerce Templates
- CMS & Blog Templates
- Facebook Templates
- Website Builders
FAQs
General Tutorials
Featured templates
MonsterONE Subscrioption


This tutorial is going to show you how to work with the advanced menu item options.
WordPress. Advanced menu item options
WordPress allows you to add additional settings to your site menu.
To access the settings, log into your WordPress admin panel and go to the Appearance > Menus tab.
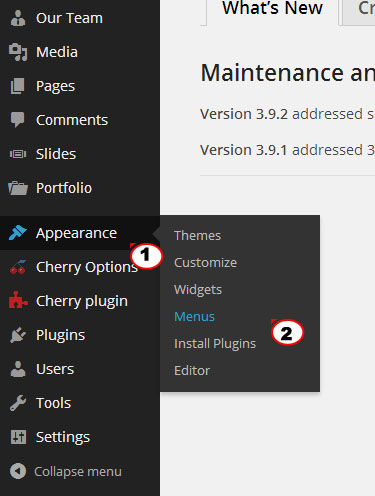
To enable advanced options, click the Screen Options drop down in the top-right corner of your screen.

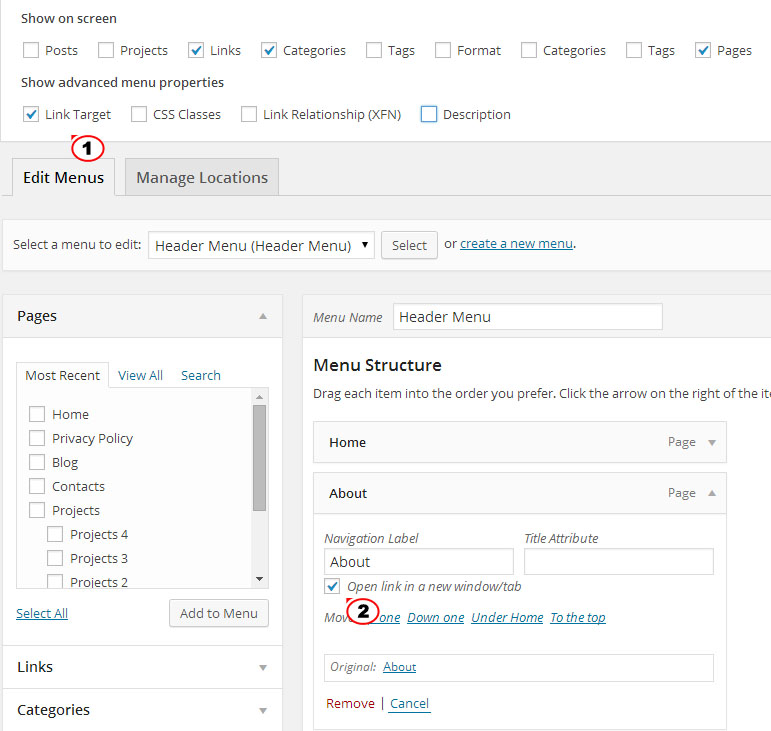
You will see: Link Target, CSS Classes, Link Relationship (XFN), and Description options.

This option controls whether the link opens in a new browser tab. Check the Link Target advanced property within Screen Options to enable this setting for the individual menu item.
Expand any menu item, check Open link in a new window/tab option.
CSS Classes option allows you to apply a CSS class to individual menu items and make the menu style editing process much easier.
Check the CSS Classes advanced property within Screen Options section.
Open any menu item to add css class.
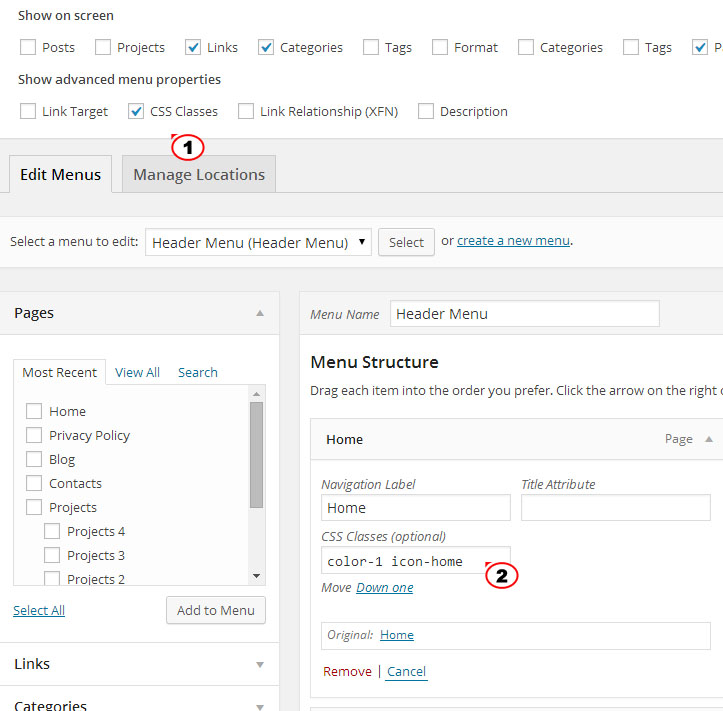
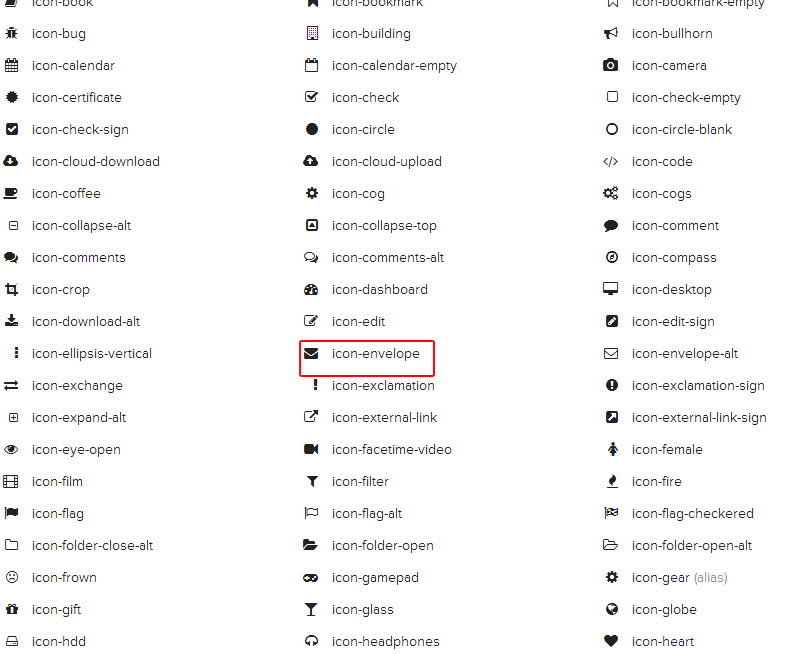
Let’s add Font Awesome icon to one of the menu items. Please check following link: http://fortawesome.github.io/Font-Awesome/cheatsheet/ to see the list of available icons. Select icon you would like to show on your site menu, copy its class.
Enter selected css class name and save menu to apply the change. Refresh your site to see the icon.
Color, font style, font size and other style changes can be done using CSS Classes option. Let’s change menu item color:
Enter your custom css class under CSS classes section, like we did earlier. You can enter any name into CSS classes box.
Add css code for specifying your color at the end of “style.css” right after:
@import url("main-style.css");
Note! Edit “style.css” file of the child theme. Do not modify “main-style.css”, as you may lose all the changes you did to this file.

Check your site to see the color change.
Link Relationship (XFN) option allows the generation of XFN (XHTML Friends Network) attributes, so you can show how you are related to the authors of the site to which you are linking. This option is usually used for external links.
Tick the Link Relationship (XFN) property within Screen Options section.
Expand specific item in the menu and specify the relationship in Link Relationship (XFN) field. Check the following link to learn about links relationship: http://codex.wordpress.org/Defining_Relationships_with_XFN. We have specified the link as nofollow, please check the screenshot below:

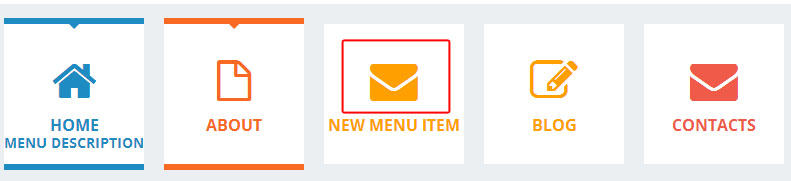
You can add the menu description. Menu item description will be displayed if the current theme supports it.
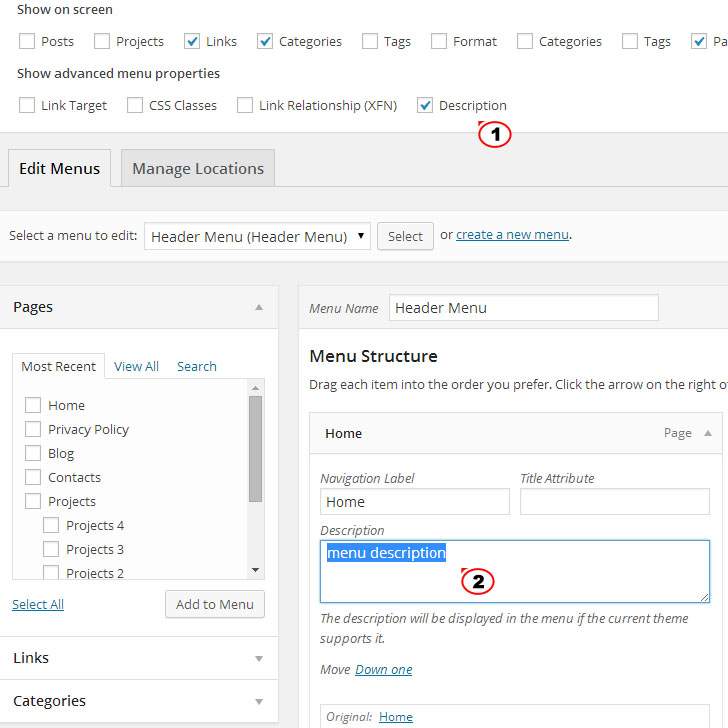
Check the Description advanced property within Screen Options section.
Expand the menu item you would like to add description to. Enter your description under “Description” field as it is shown on the screenshot below:
Feel free to check the detailed video tutorial below:
