


- Web templates
- E-commerce Templates
- CMS & Blog Templates
- Facebook Templates
- Website Builders
FAQs
General Tutorials
Featured templates
MonsterONE Subscrioption


It often happens that after activation of your new theme you find the whole layout of the home page disordered. That is because the sample data wasn’t installed. But sometimes you cannot install it as you already have some data in your store, and using sample data will completely overwrite it.
In this tutorial we will show you how to set up slider and banners in your PrestaShop site with the help of source scripts without using sample data.
PrestaShop 1.6.x. How to set up slider and banners manually using source scripts
The necessary files are located in the “sources/custom_html” folder of your template package.
Note: the “sources” folder is usually zipped and password-protected. Check these tutorials for unzipping a template:
on Windows OS
on MAC OS
The files are named after the modules they include scripts for. For example, “homeslider.html”, “themeconfigurator.html”, etc.
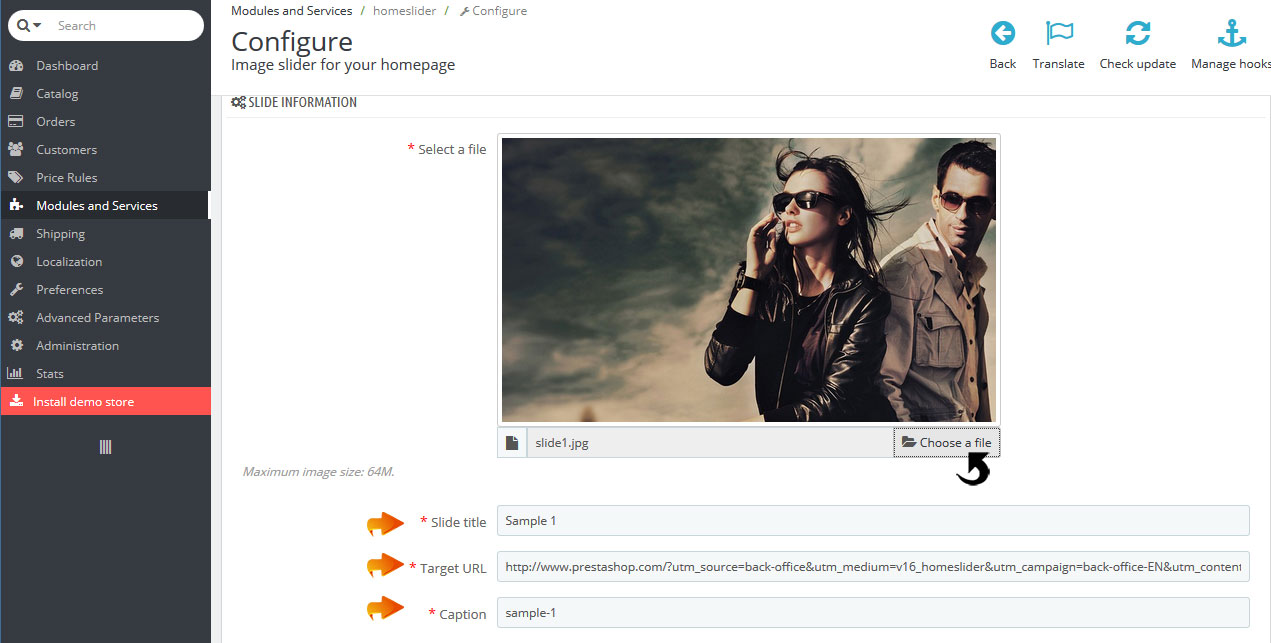
Access the “Image slider for your homepage” module in Modules->Modules (“Modules and Services” in PrestaShop 1.6.1) section of your admin panel.
Input the slider width into the “Maximum image width” field. You can check the dimensions of your slides in the “theme/manual_install/your theme/modules/homeslider/images” folder of your template package:

You can either edit the default PrestaShop slides or remove them and add re-add them with correct images from “theme/manual_install/modules/homeslider/images” folder of your template package:
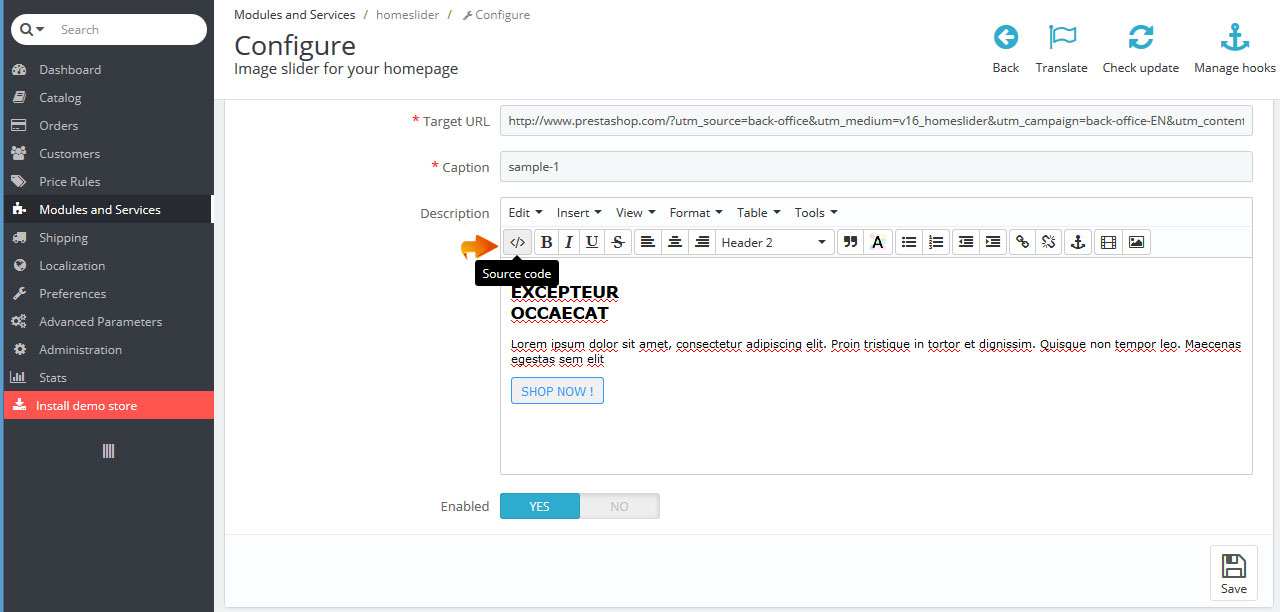
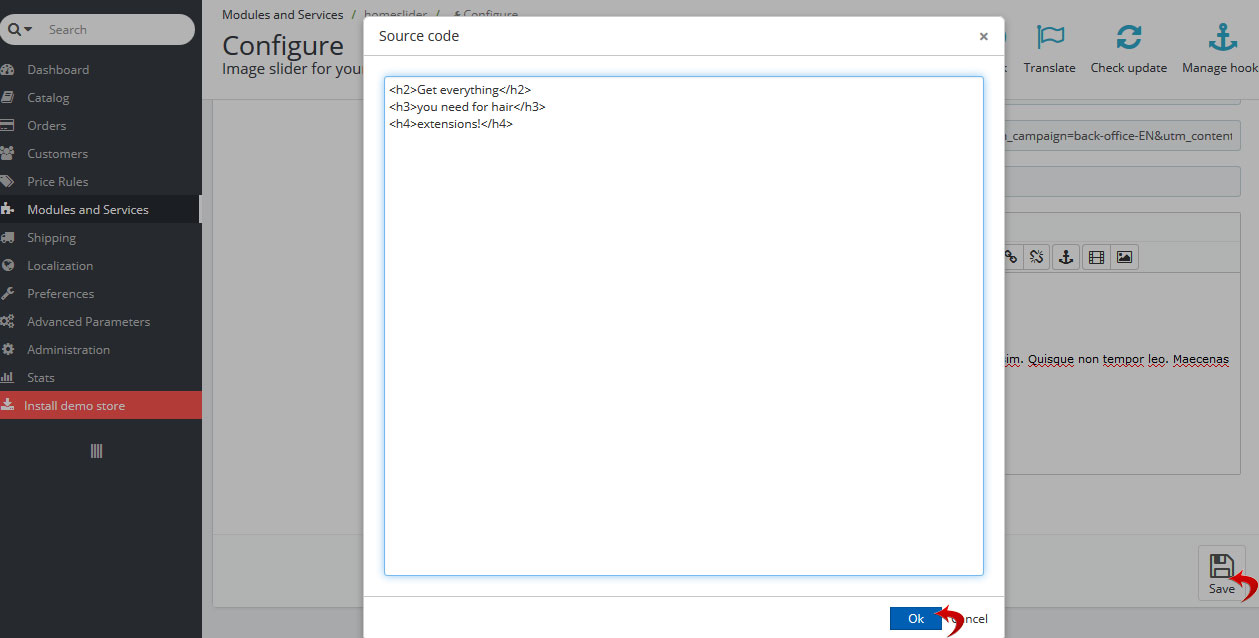
Paste the script from the “homeslider.html” file into the “Description” field using the “Source code” feature, and press firstly the “Ok” then “Save” button to save the new slide:
Check your site after clearing the browser cache.
Perform the same procedure for other slides.
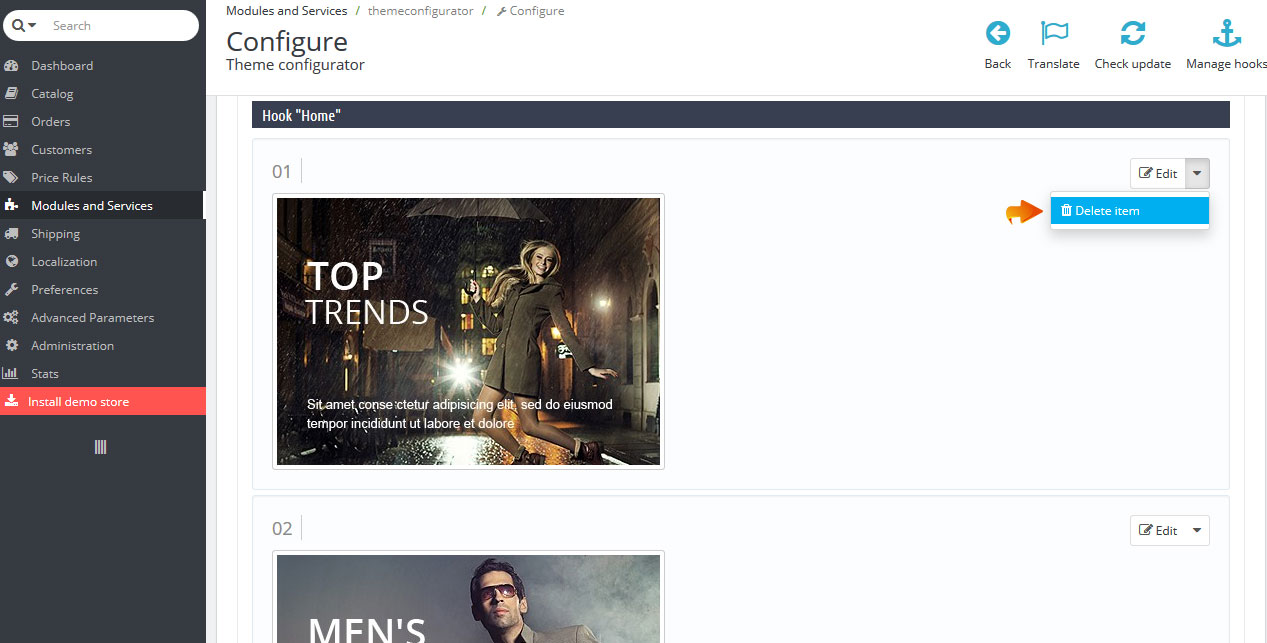
Usually the banners in PrestaShop (1.6 version) are added with the help of the “Theme Configurator” and the “TM HTML Content” module.
The images for the banners are located in the “theme/manual_install/your theme/modules/themeconfigurator/img” and “theme/manual_install/your theme/modules/tmhtmlcontent/img” folders of your template package.
Note: Mind that not all the PrestaShop templates include the “TM HTML Content” module, it depends on specific design.
You may remove the existing default banners from the “Theme Configurator” module for more convenient work:
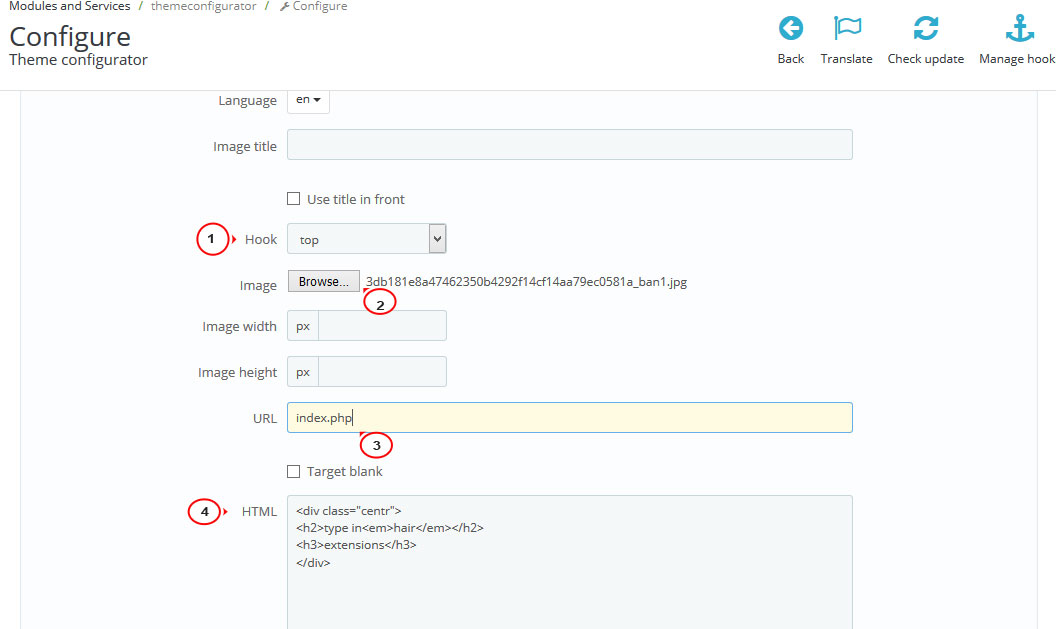
Press the “Add Item” button on the left, and fill in the necessary fields:
Select a correct hook for the banner.
Browse the image from “theme/manual_install/your theme/modules/themeconfigurator/img” folder or use your own image with the same dimensions to avoid layout issues.
Input the URL as the hovering style effects will not appear if you use no link.
Paste the code from the “themeconfigurator.html” file into the “HTML” field.
Press the “Save” button.
Repeat the procedure with other banners:
Refresh the page and check your site frontend.
The procedure of setting the “TM HTML Content” module is analogical to setting the “Theme Configurator”.
You may also need to set the “TM Media parallax module” to achieve the same look of your home page as the template demo.
We hope the tutorial was useful for you. Feel free to check the detailed video tutorial below:
PrestaShop 1.6.x. How to set up slider and banners manually using source scripts
