


- Web templates
- E-commerce Templates
- CMS & Blog Templates
- Facebook Templates
- Website Builders
FAQs
General Tutorials
Featured templates
MonsterONE Subscrioption


This tutorial is going to show you how to update Cherry Framework and Cherry plugin manually.
WordPress. How to update Cherry Framework and Cherry plugin manually
First, you need to make a back up of your current Cherry Framework version.
To download the newest Cherry Framework version, you can follow this link: https://github.com/CherryFramework/CherryFramework.
Click Download ZIP button.
You will see a pop-up window asking you to save the file. Click ok to proceed with downloading.
After downloading you will get a CherryFramework-x-x.zip file in the directory you saved it to (where x.x is the version of Cherry Framework). You can use any software to unzip it (for instance, WinZip, you can download and install its trial version). You need to right-click the file and select “Extract to CherryFramework.zip”.
When you open the folder, you will find another folder called “CherryFramework” inside.
You should select “CherryFramework” folder, right click on the content highlighted and select “Add to archive”.
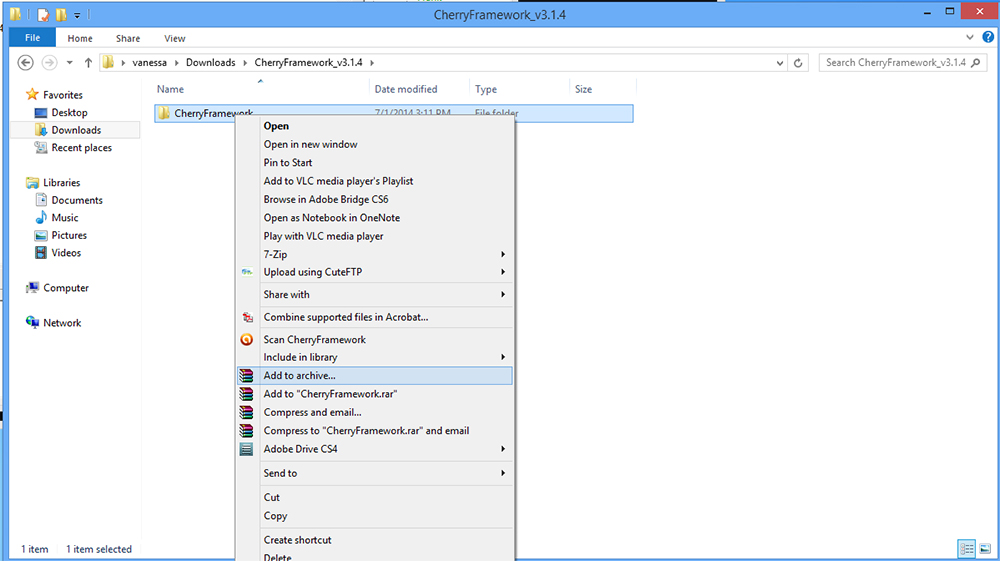
You will see “Archive name and parameters” in the pop-up window, select .ZIP as the Archive format and click “Ok”.
You will get a new CherryFramework.zip file which you need to upload to your server.
Log into the Control Panel and open the File Manager.
Open the folder with the current WordPress site and navigate to the folder wp-content/ themes.

Find folder “CherryFramework” (if it exists) and rename it (for example, CherryFrameworkbackup).
Click Upload in the top menu, click Browse and navigate to the CherryFramework.zip file on your computer.
Once uploading is finished, go back to the directory where the file is uploaded.
You will see the CherryFramework.zip in the directory you uploaded it to. Select it and click Extract button at the top.
In the pop-up window click Extract File(s).
Log into your WordPress admin panel (add /wp-admin to your domain name in the browser address bar).
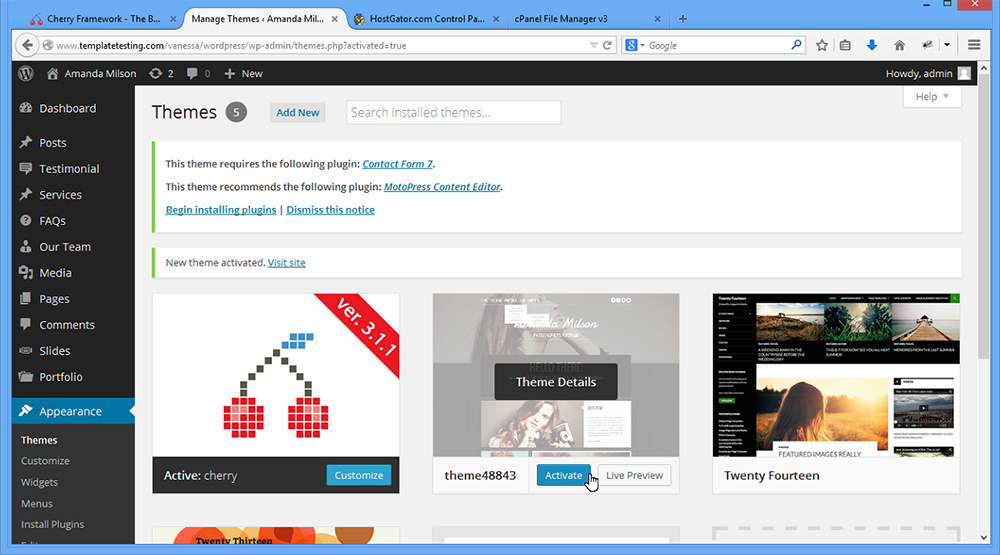
Go to Appearance -> Themes menu.
Find Cherry Framework-xx and click the Activate button.
Activate themexxxx in the same way (where XXXXX is the unique number of your theme).
Open Plugins menu. You can see the massage that new version of Cherry Plugin is available.
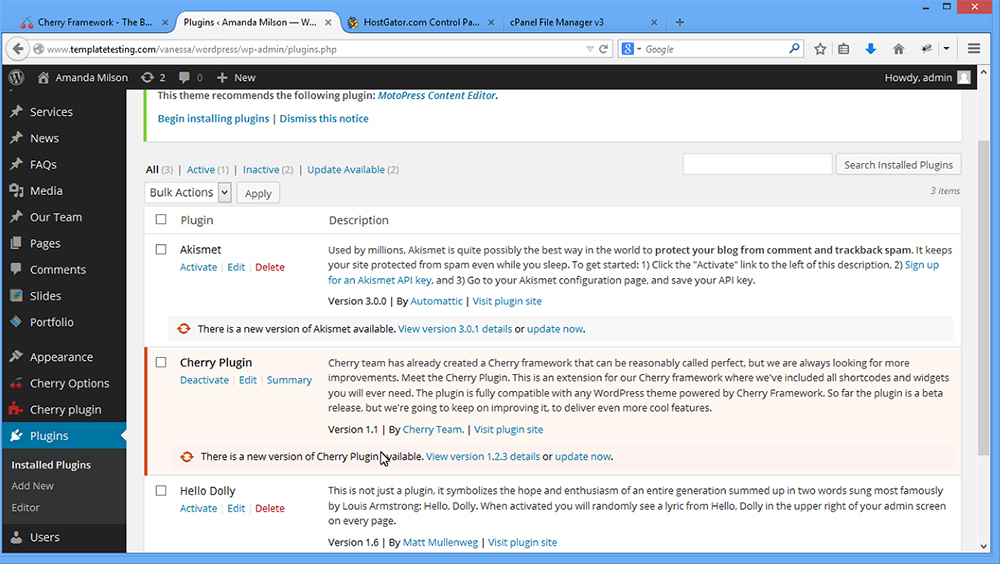
Click “Update now” link.
In case you do not have such massage (“There is a new version of Cherry Plugin available”), you need to update plugin manually.
Log into the Control Panel. Open the folder with the current WordPress site and navigate to the folder “wp-content/plugins”.
Find folder “cherry-plugin” (if it exists) and rename it (for example, cherry-pluginbackup).
Click Upload in the top menu, click Browse and navigate to the CherryFramework folder on your computer.
Open CherryFramework folder. Open the folder “includes/plugins” inside it. You will see cherry-plugin.zip, double-click on it.
Once file uploading is finished, go back to the directory where the file is uploaded.
You will see the cherry-plugin.zip in the directory you uploaded it to. Click on it to select, then click Extract at the top.
In the pop-up window click Extract File(s).
Open WordPress admin panel, go to Plugins menu. Click the Activate link. Now you can check your site.
Feel free to check the detailed video tutorial below:
WordPress. How to update Cherry Framework and Cherry plugin manually
If you’re searching for more professional solutions to build a website, have a look at the newest wordpress templates.
