


- Web templates
- E-commerce Templates
- CMS & Blog Templates
- Facebook Templates
- Website Builders
FAQs
General Tutorials
Featured templates
MonsterONE Subscrioption


This tutorial is going to show you how to work with a minic slider on your PrestaShop template.
PrestaShop 1.5.x. How to work with “Minic” slider

Installation. If your template comes with a minic slider, it is installed automatically when you are installing your template with the “Export\Import a theme” module. For manual installation, you just need to upload the ‘minicslider’ folder from the theme/modules/ folder of your theme to the /modules/ folder on the FTP using an FTP client or the File Manager in your Hosting Control Panel. Another way to install it is through your PrestaShop admin panel. Once the module is uploaded, in your PrestaShop admin panel go to the Modules -> Modules menu and search for the ‘minicslider’ module.

If the module is not yet installed, click “Install” next to it.
Configuration. Like other modules, the minic slider has Configure/Disable/Reset/Delete/Mark as Favorite options. Click Enable to activate the module, then put it into the required position according to the documentation file that comes with your template (as a rule, the positions are panel header and Pages header). Click Configure to proceed.

If you have installed your template with the “Export\Import a theme” module or using the sample data file, the module should already have the sample content that makes it look like the one on the live demo. You can change the existing content and images or click Add New to add new slides to it.
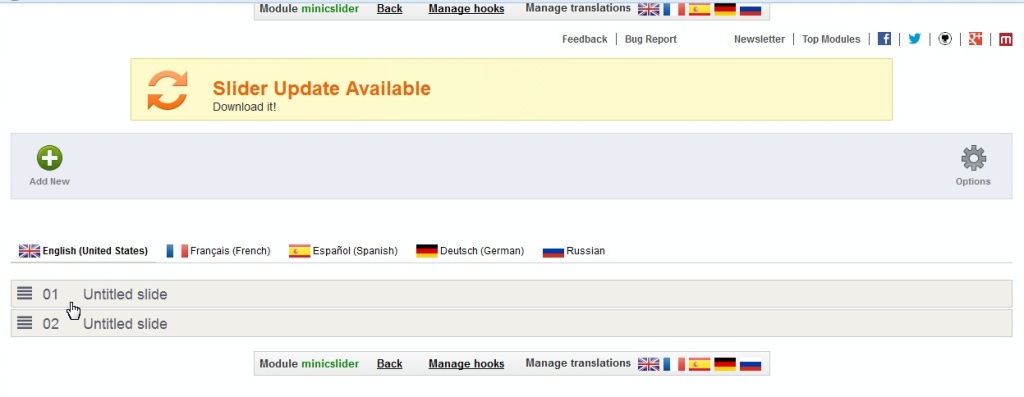
Each slide you add is added in a numbered list of buttons. By clicking on the slide, you can access its options. Each separate slide has the following options:


Click Update to save the changes you made to the slide, then click Delete to delete the slide or Close to go back to the list of slides.
At the top right there is a button called Options. When clicked, it gives you options to modify the whole slider like:


The best way to see how each of the options work is to play around with it. To save the changes, click Save at the bottom.
If your site is multilingual, the list of flags on the slider configuration page allows you to add/configure the slides for each version. There is no way to add a slide and apply it to all languages at once, i.e. if you uploaded slides to English version of the site, when you select a different language on the front page, the slider will have no images. You will first need to click on one of the flags, then upload the image and enter the caption for the different language. To see the list of flags, the I need Multilanguage option under Options -> Other Options should be switched on.
Feel free to check the detailed video tutorial below:
